Hi my angels,
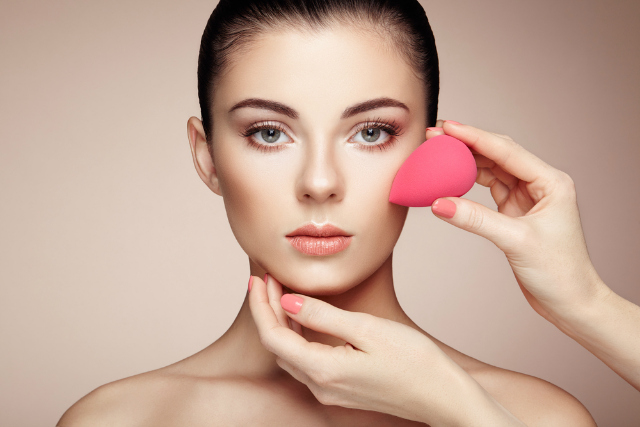
Today’s article is going to be about makeup sponges. From high end expensive Beauty Blender to non-branded local store sponges, these little makeup applicators have totally changed the base application game. I don’t know a single beauty blogger who isn’t amazed by the performance of makeup sponges. Though, these sponges make foundation & concealer application a cake walk, but still we need to keep in mind a few things to minimize the scope of any faults in your base. Please keep on reading to find them out.

1. Neither too dry not too wet:
You are supposed to dampen your makeup sponge under running water, so that it swells up, becomes moist and gets ready to apply base. The best way to maintain desired moisture in the sponge is to place it on a towel and squeeze it. Using bare hands you can get water out but not enough, so you will end up with a wet transparent base. But if you go overboard with towel squeezing, the sponge will lose all the moisture and your face will look very made-up instead of flawless.
2. Know the difference between Dab-Dab motion and Swipe/drag motion:
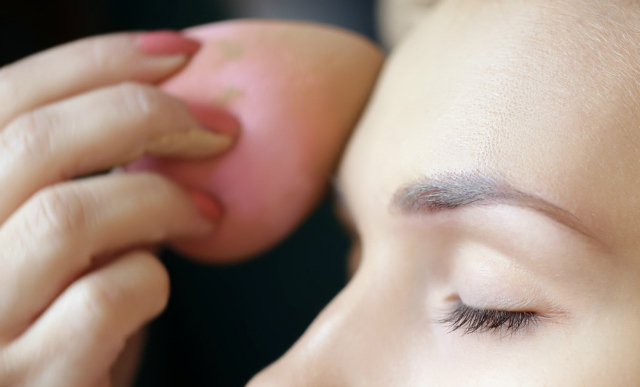
To get a sheer base, you should swipe the product or drag the product with your sponge. This way you will move little amount of foundation all over your face. If you want full coverage, go for dab-dab motion. Apply foundation with a flat brush all over your face and start dabbing. Sponge will soak up excess base but will leave you with full coverage base, hiding all your blemishes.
3. Understand which to side to use for what purpose:
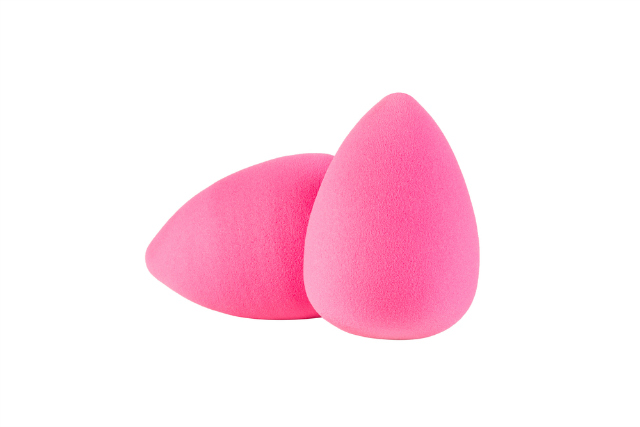
The pointed side of your makeup sponge is used to reach nooks and crannies of your face. It is apt for applying concealer under your eyes and around your nose; while the other side is used to apply foundation all over your face. You can also use the flat side to apply blush which looks very sheer and natural.
4. Dampen with setting spray for a flawless base:
When you are done with your makeup , just dampen your make up sponge with a setting spray; now using the dab-dab motion, press the base gently against your skin with the sponge. It will make your makeup stay longer and also give a natural finish.
5. Use for baking your highlights:
Baking means applying translucent powder on your face, basically on the highlighted concealed parts, i.e. under eyes and under your contour. Let this powder sit for 5-10 minutes and then dust off. Using your sponge to apply this baking powder will help you get better effect of baking, because with sponge you can literally push the powder onto your face. Sponge is soft and works like dream for baking.
6. Don’t waste your product:
It is hard to go wrong with a makeup sponge. They are supposed to make your foundation and concealer look natural with a very little amount of effort as compared to brushes. In case you are inspired by YouTube tutorials and you see beauty bloggers emptying half of their foundation and concealer at once and then soaking it up with their beauty blenders, don’t do that. They are wasting their product. Remember, less is more. Slowly build the coverage of your foundation and concealer. Applying too much product is a waste and then you must know some things look good just on the camera. In person, that might be a caked-up face.
Different Types of Makeup Sponges, Their Uses and Benefits
Beauty Blender Sponge
Colorbar Blend Away Foundation Sponge Wheel
Colorbar Fair & Square Foundation Sponges
Forever 21 Contoured Makeup Sponges
Barbara Hofmann Makeup Sponge
Real Techniques Miracle Complexion Sponge
The Crème Shop Assorted Cosmetic Sponge Set


Really useful tips dear.