By “Makeup by Romma“
Hey my loves,

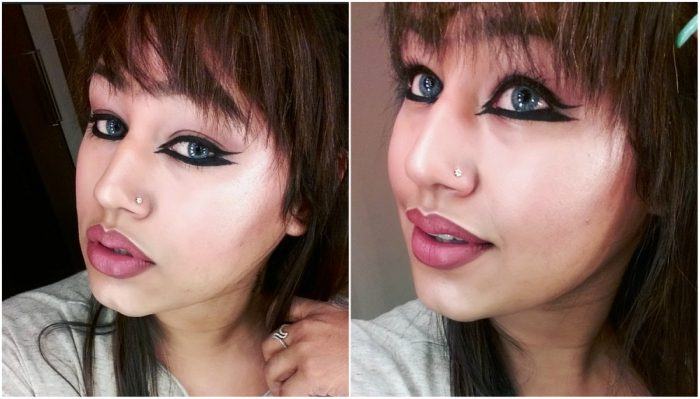
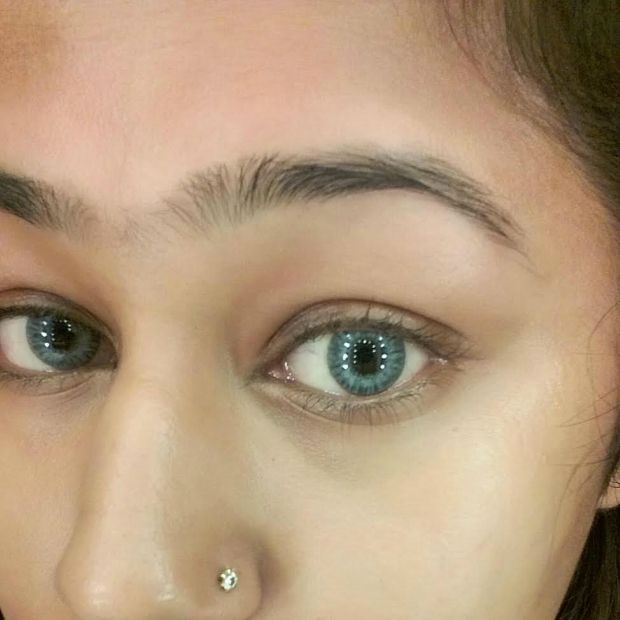
After going through the reviews and queries, I decided to get you the details of my favourite go-to eyeliner look for almost every occasion. Whether it is a day or an evening look, this graphic eyeliner looks just perfect. Eyeliner, if applied correctly, can be a great asset for your beauty. A good eyeliner style makes the best feature of your face stand out but it kills the look if not done properly. And, the most amazing fact about this eyeliner look is that it can really accentuate your eye by making them look bigger and brighter. It works amazingly for smaller eyes. I can say so because I have small eyes. 😀 So without any further delay, let’s get started.
Products Used:
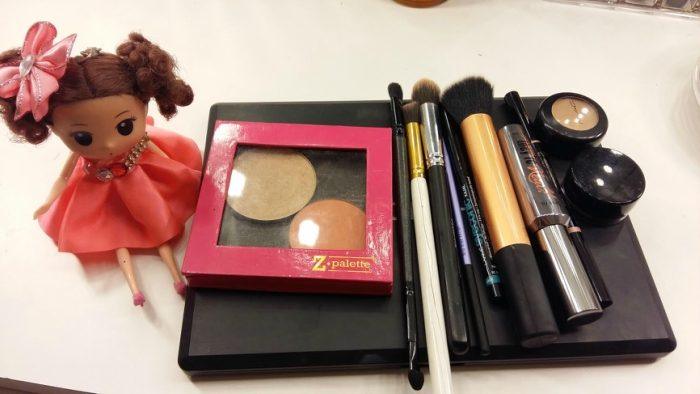
• Morphe Taupe Palette
• Anastasia Beverly Hills Glow Kit
• Anastasia Beverly Hills Brow Wiz Skinny Brow Pencil
• MAC Studio Finish Concealer
• Benefit They’re Real Mascara
• Lakme Eyeconic Kajal
• Inglot Matte Gel Eye Liner
• Brushes – liner brush, fluffy brush, buffer brush, patting brush, angled brush)
Step 1
Clean your face and apply a primer and a moisturizer.
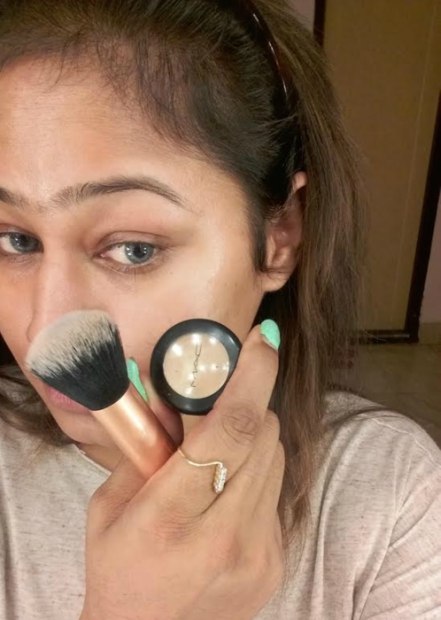
Step 2:
Take a buffer brush and apply a concealer all over the eyelid to prepare a base and hide any discolorations.
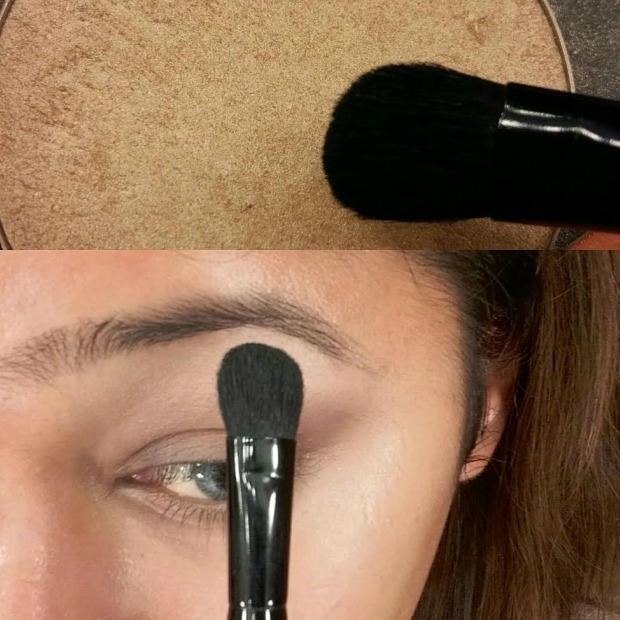
Step 3:
Take a fluffy brush and take a shadow similar to the concealer and apply all over the lid to set the concealer in place.
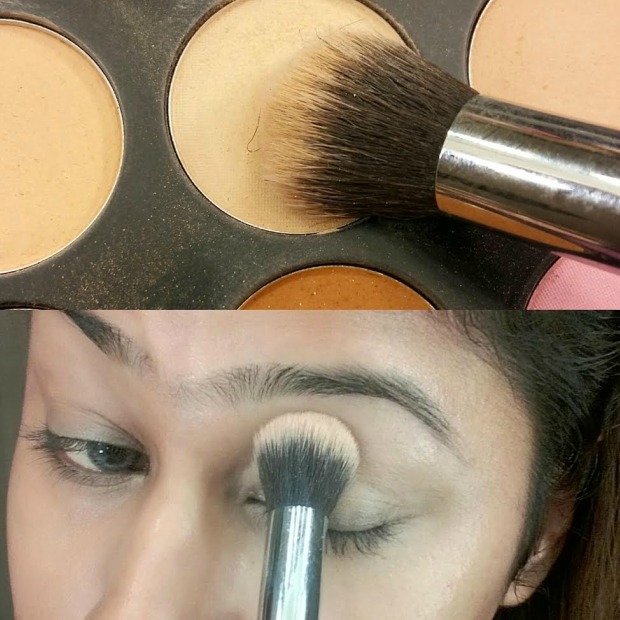
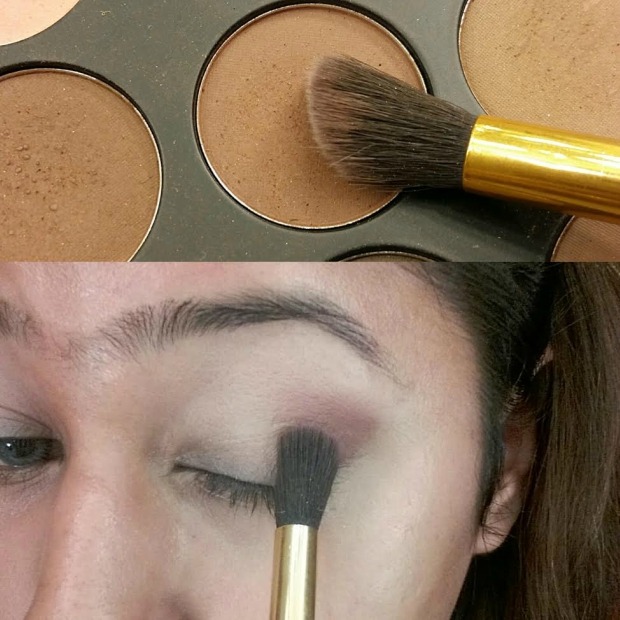
Step 4:
Take an angled brush and take a light brown eye shadow and place it on the outer corner of your eye and drag the brush inside.
Step 5:
Take any a patting brush, take some highlighter and apply it on the brow bones to accentuate the brows.
Step 6:
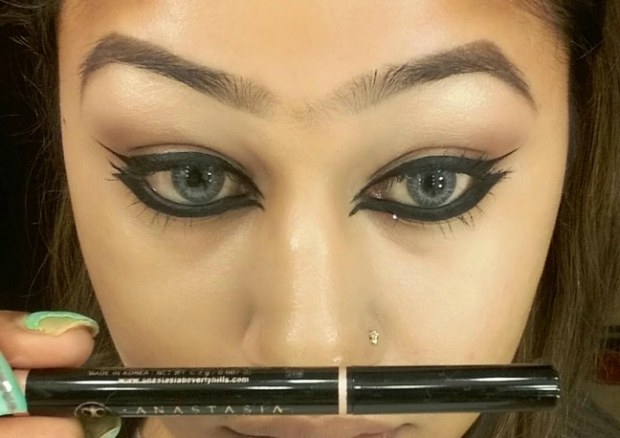
Now, time for the liner! Take a liner brush and a gel liner and start drawing from the inner corner first and move along the lower lash line, making the ends really pointy and sharp.
Step 7:
For the upper lid, start drawing a thin line and wing it out until you match parallel to the lower line.
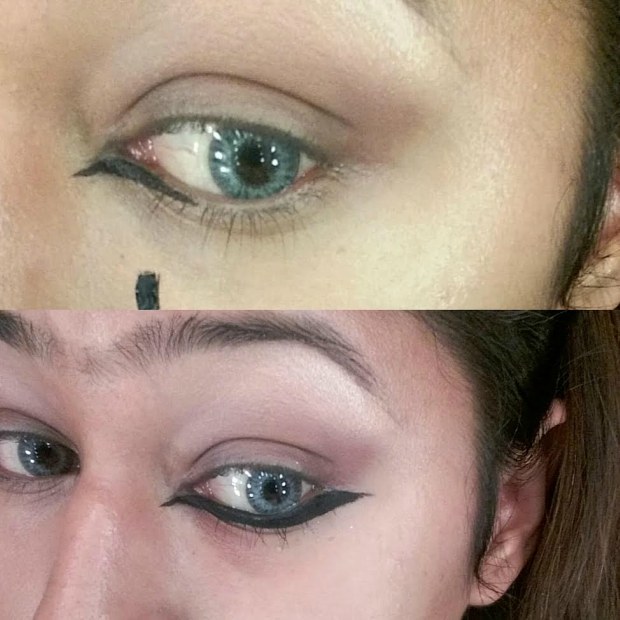
Step 8:
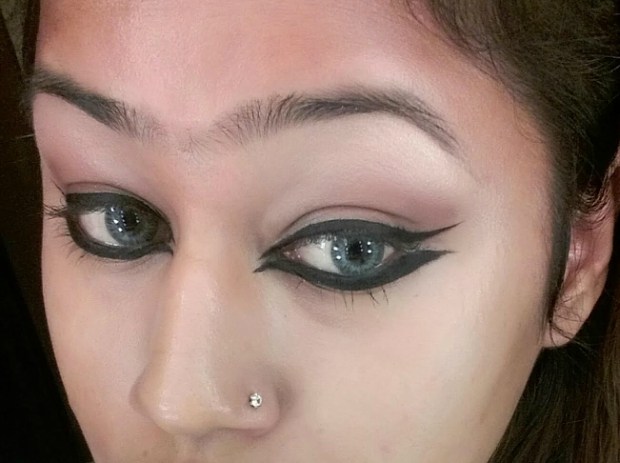
Draw the line from the inner corner and join the line you drew previously. Keep the inner corner sharp and pointing downwards.
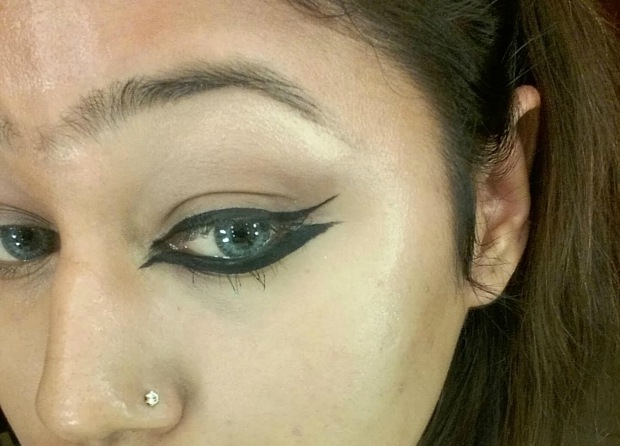
Step 9:
Fill in the lines and make the eyeliner look even as shown above.
Step 10:
Fill in the bottom lashline with a kohl.
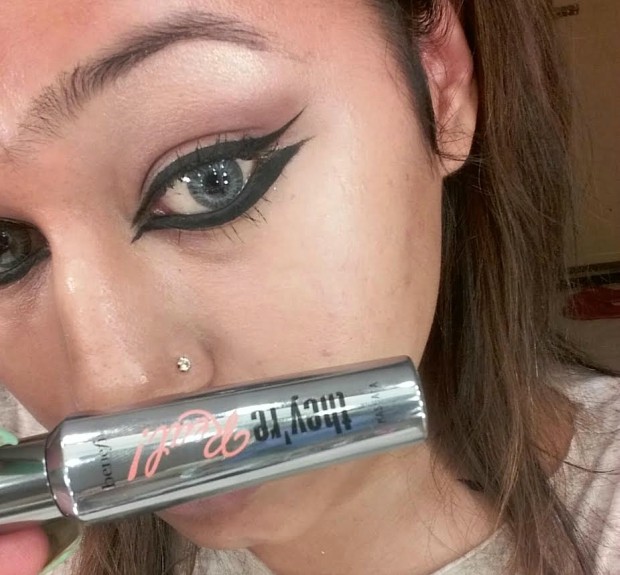
Step 11:
Apply mascara to your lashes, both upper and lower lashes. Apply two to three coats for thickness and more visibility.
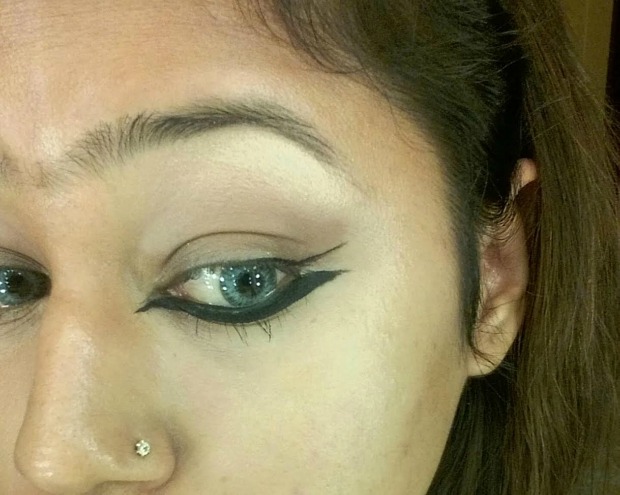
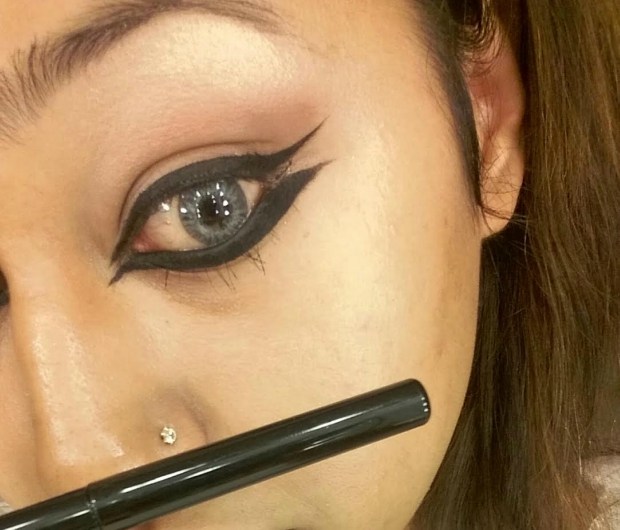
Step 12:
Arc and fill in the brows with a brow pencil.
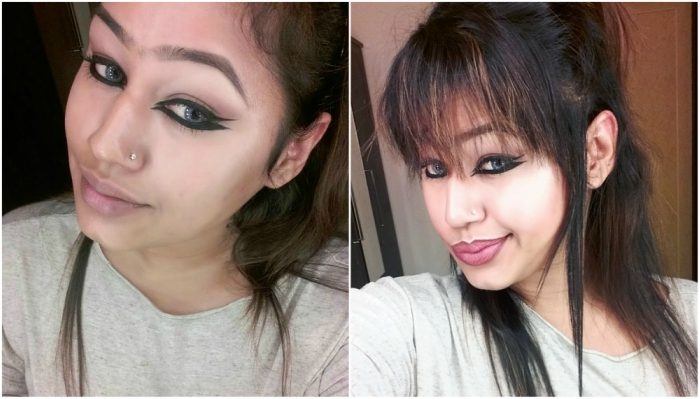
And here you are, all set to fetch compliments.
About the Makeup Artist:
I worship makeup and am totally mesmerised by the power of it. I am an Odisha based Makeup Artist. Totally live love makeup. I run a spa and am totally passionate about my work.
Instagram – https://www.instagram.com/makeupbyromma/
Facebook – https://www.facebook.com/makeupbyromma/
Step-by-Step Tutorial – Well Defined Cut Crease with Winged Eyeliner
Pink Eye Makeup Tutorial for Summer Parties
Step-by-Step Tutorial – Perfect Matte Pink Lips
“Peacock-Feather” Eye Makeup Tutorial
Step-by-Step Eye Makeup Tutorial – Green Smokey Eyes
Step-by-Step Makeup Tutorial: Gradient Lips with Doll Eyes
Step-by-Step Makeup Tutorial – Purple Smoky Eyes with Bold Wine Lips
Step by Step Makeup Tutorial of Sun Kissed, Gold Winged Look
Step-by-Step Makeup Tutorial – Metallic Smokey Eyes
Step-by-Step Makeup Tutorial – Sharp Edged Cat Smokey Eyes
Step-by-Step Eye Makeup Tutorial – Blue Jewel Toned Smokey Eyes
Step-by-Step Makeup Tutorial – Sonakshi’s Smokey Eye Look
Step-by-Step Tutorial – Conceal Dark Circles in Just 5 Easy Steps
Easy Step-by-Step Tutorial for Purple-Plum Smokey Eyes