Liquid liner definitely adds an oomph factor to your makeup looks. It is perfect for those who are on the lookout for intense pigmentation with a dramatic look. Needless to say, it is also perfect to make your eyes look subtle. The correct application of liquid eyeliner can make your lashes look fuller. However, applying liquid liner can be a bit tricky, especially if you are a beginner in this field. But, it is definitely not impossible to work with liquid eyeliners. Like it is said, practice makes a man perfect. Hence, just because you are new to the book of applying liquid eyeliner, you don’t have to stop yourself from practising it. Here, I am with a step-to-step guide to help you achieve perfect looks with your newly-bought liquid eyeliner. So, let’s get into the details.

Step 1: Prime your eyelids
Priming your eyelids is not compulsory if you are going to wear eyeliner for a short time. But, if you are going to wear it for a longer time, then use a primer to keep the eyeliner intact. Moreover, if you have way too oily eyelids, a primer will help in controlling excess oil while keeping the eyeliner intact. A primer will provide you with even and smoother eyelids to work with. Hence, I will suggest you wear a primer especially if you’re a beginner.
Step 2: Sketch your lines with pencil eyeliner
If you are afraid of using liquid eyeliner directly over your lids, then sketch a rough line using your regular pencil eyeliner. By drawing a rough sketch, you will be able to trace the line beautifully. In the rough sketching, you can decide what shape and size you want.
After deciding it, you just have to swipe your liquid eyeliner over the roughly sketched eyeliner. However, if you are confident enough to work with just liquid eyeliner then skip this step. This step is meant only to provide you with a rough image of how to draw the lines.
Step 3: Tilt your head back and look down
To start the process of applying liquid eyeliner, tilt your head a little backwards. By tilting your head back and looking down at the mirror you ensure that the eyeliner doesn’t get transferred over the lid or brow area. If the eyeliner gets transferred over the lid and brows then it is going to mess up your makeup. Thus, to prevent the mess, try to tilt your head backwards.
Step 4: Rest your elbow on the table
While using a liquid liner, rest your elbow on the table to prevent it from being shaky. Nothing worse can happen to liquid eyeliner than shaky hands. By resting your elbow on the table, your muscles will be relaxed and you will be able to draw the eyeliner without any disturbance. Hence, place your elbow on the table and rest your hand on the face for a smooth and even-finished line.
Step 5: Use small strokes while drawing eyeliner
Finally comes the time when you are actually going to apply the liquid eyeliner. An ideal way of drawing eyeliner is to start from the middle and then work with the small strokes extending into the outer corner of your eye. Then draw again from middle to inner corner of your eyes. If you are not comfortable with this way, you can apply the eyeliner in any way you want to.
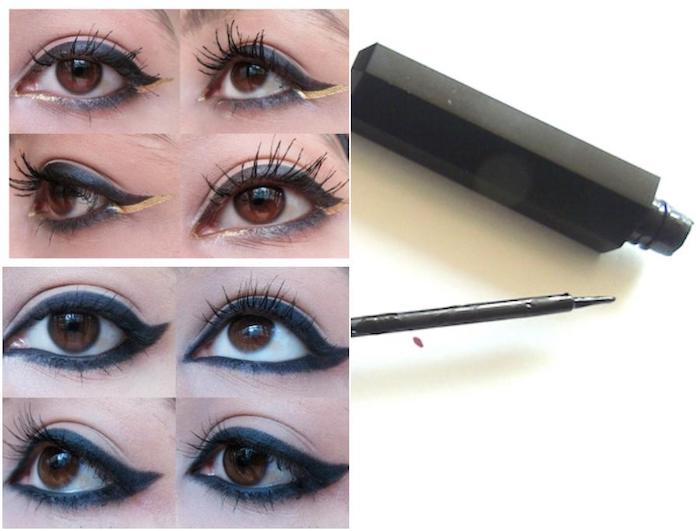
You just have to make sure that you work in small stokes, preventing any mess. Moreover, to achieve the ideal shape, keep the liner thin near the inner corners. Always remember that it is easy to apply an eyeliner with small strokes as you can always build it up according to your liking, that too without messing up your eye makeup.
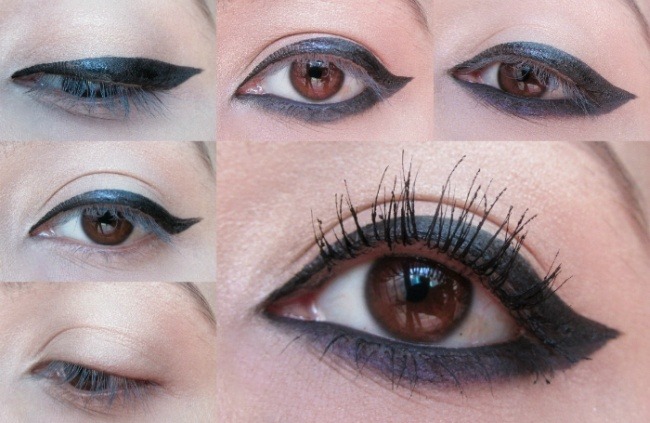
Step 6: Tricks for creating a wing
To create a wing, look straight into the mirror to place your line perfectly. To create a perfect flick, take the angle of your lower lash line as a guide. From where the line is extended, take your flick there and start the process. While creating a wing, do not pull the skin around your eyes. When you stretch the skin and draw the eyeliner, it seems to be all fine, but it is not.
As soon as you stop stretching your skin, the eyeliner becomes a mess. It starts looking wavy. Instead, just close your eyes lightly and draw the line. If you are not able to achieve a straight wing then do not worry. To make a straight line while drawing a wing, you can use a scotch tape or credit card. Here is our winged eyeliner guide for you.
Step 7: Fill in the gaps
The next step is to fill in the gaps to achieve an even eyeliner. Fill in the gaps between eyeliner and lash line to give the illusion of fuller lashes. It will make your lashes look sleek and full.
Step 8: Use Q-tips to rectify mistakes
If you have made some mistakes while applying liquid eyeliner, do not worry. You can always use a Q-tip to rectify the mess. Just dip a Q-tip in micellar water and swipe it over the mistake. Micellar water will remove excess eyeliner and help you create an even look. It will work as an eyeliner eraser and would not leave any dark shadow behind.
Step 9: Use a concealer to make the eyeliner pop
One of the best tricks to make your eyeliner pop is to trace the line with a concealer. You must use a concealer that provides sheer to medium coverage. The shade of the concealer must be a tone lighter than your original skin tone. It will define your lines perfectly, making them pop clearer.
How to Apply Liquid Eyeliner Properly
10 Incredible Liquid Eyeliner Application Tips for Beginners
Lakme Absolute Shine Line: Black Eyeliner
6 Common Sins We Commit while Using Liquid Eyeliners + 7 Excellent Eye Makeup Tips
MUA Makeup Academy Shade 4 Liquid Eyeliner
Budget Buys: Beginner’s Makeup Essentials under INR 300
8 Easy Makeup Tips Every Beginner Must Know to Look Flawless
6 Beginner’s Classy Makeup Looks to Master for Festive Season
Top 5 Products for Skincare Beginners