By Surabhi Singh
Hi, everyone!

I am back with another DIY. It is my regular face pack. This one is kind of interesting, easy and effective. This face pack is specifically for acne, acne marks and uneven skin tone. This face pack was suggested by my mother. She once told me to use lemon peel in the pack. This face pack cleanses your skin very well and leaves a glowing effect. With the regular use of this pack, you will also see a reduction in acne and acne marks to a good extent. So, let’s get into the details!

Ingredients and their benefits:
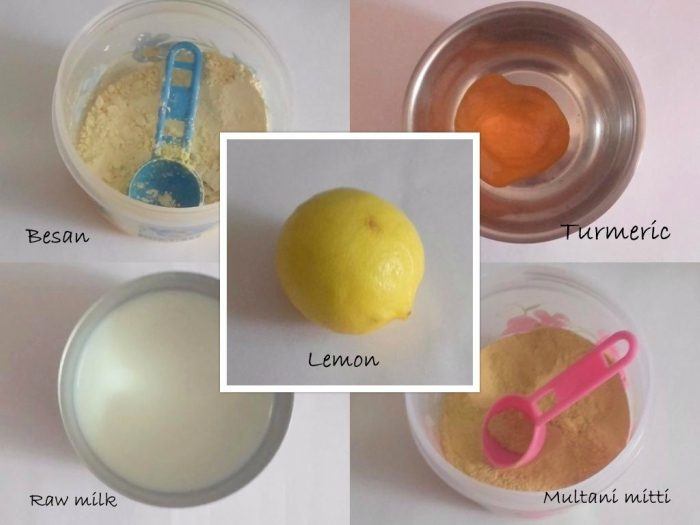
Key ingredients used are lemon and milk. Lemon is known for its bleaching properties and milk is known for giving super moisturised and supple skin.

1. Lemon: Here we will need a lemon. We will use lemon peel as well as lemon juice in this face pack. Lemon is a rich source of vitamin C. Lemon juice is known for its bleaching and antibacterial properties. It helps in reducing acne as well as acne scars. It also helps in skin brightening. Lemon peel will help in exfoliation and it contains more antioxidants and vitamin C than lemon juice. Hence, it will give two ways benefits.
2. Milk: Raw milk contains lactic acid and malic acid. Raw milk will help in reducing scars and will keep your skin full of moisture.
3. Turmeric paste or powder (optional): Turmeric is also known to lighten the scars. It has anti-inflammatory and antibacterial properties. It enhances collagen production which makes your skin glowing and healthy.
4. Multani mitti: Multani mitti is known to absorb all the excess oil and dirt from your face and make it look clean and glowing.
5. Besan: Besan or gram flour has a cleansing effect over skin and is popularly known to even out the skin tone.
How to prepare:
Step 1:
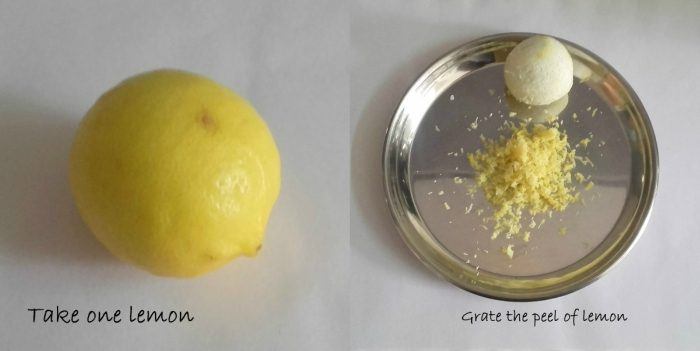
Take 1 lemon. Grate the lemon such that only its peel gets grated.
Step 2:
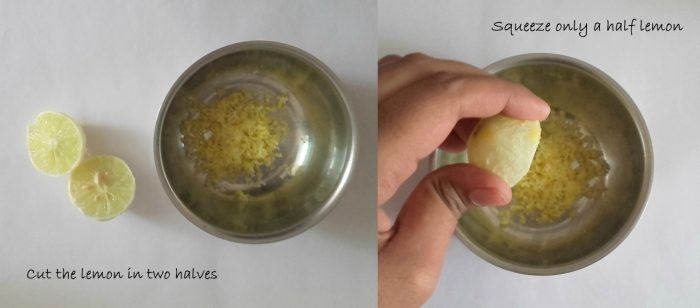
Now cut that lemon in half and squeeze half of the lemon.
Step 3:
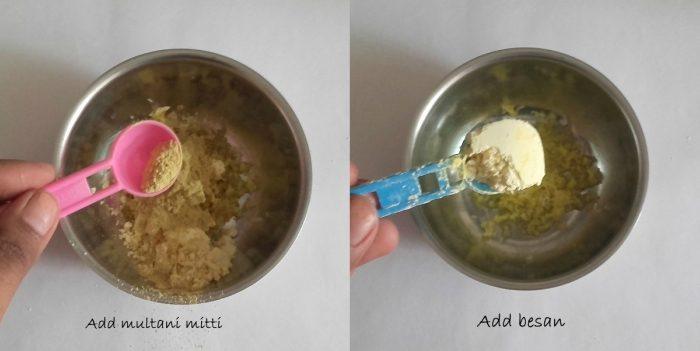
Add 1 teaspoon multani mitti and 1 teaspoon besan.
Step 4:
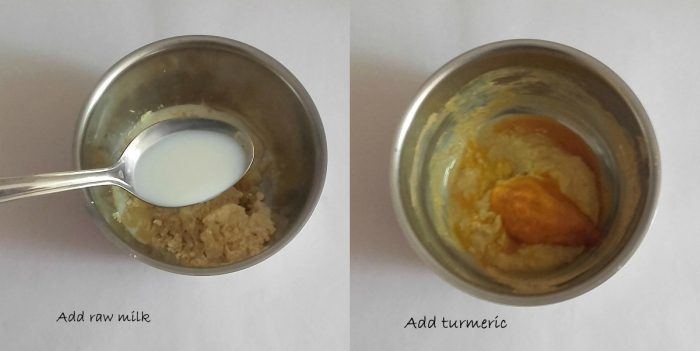
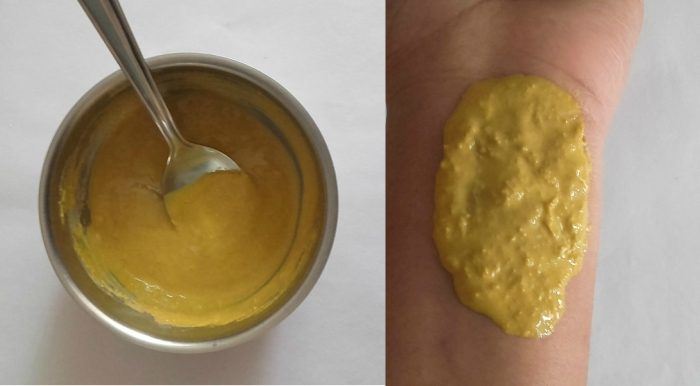
Add half teaspoon turmeric. Add milk to get the right consistency. The face pack should not be thick at all.
How to use:
Step 1: Cleanse your face properly at least 15 minutes prior.
Step 2: Take steam for 7-8 minutes to open up the pores so that the pack can work properly.
Step 3: After the steam, apply face pack evenly over the affected areas and let it sit for around 20 minutes.
Step 4: After 20 minutes, gently massage the pack in circular motion and wash off with lukewarm water in starting and end it with cold water.
Step 5: Do not forget to moisturise.
Results:
After washing the pack off, you will notice a very clean and glowing skin. If you have any white and black heads, you won’t be able to see them. Some deep rooted will be surfaced but they will be gone with the next use. Your pores will look smoother and clearer. This face pack will prevent any further acne breakouts and the ingredients will help in lightening the skin. Your skin also will be totally oil free.
Note:
1. Do not let this pack dry. Wash it whenever it starts to dry.
2. Use this face pack thrice a week to get the maximum out of it.
3. It will sting a little in the start if you have sensitive skin.
4. If you have extra dry skin, add honey for extra moisturisation.
5. If you want you can add any essential oil.
Tamarind Face Mask For Bright and Glowing Skin: Do It Yourself
DIY Easy Steps To Remove Blackheads and Nose Pigmentation Quickly
DIY Wild Turmeric and Milk Skin Whitening Pack
Homemade Face Pack for Instantly Bright and Glowing Skin
Egg White and Orange Peel Powder Face Mask For Winter: DIY
DIY 10 Minutes Hand and Nail Care at Home
Himalaya Herbals Tan Removal Orange Peel-Off Mask
Lotus Herbals Orange Peel & Alpine Salt Whitening Skin Polisher

