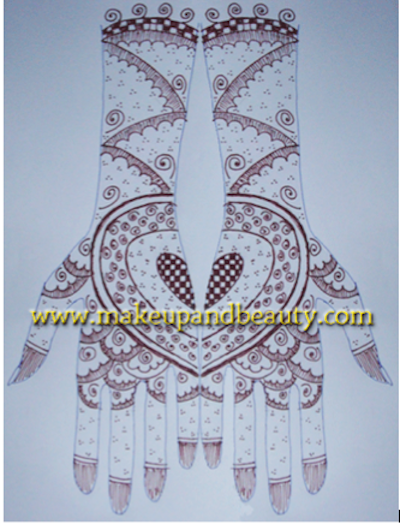
Since it is not possible for me to do the henna design on my hand and take the photos, I will draw it for demonstration. Yes, another set of my torturous drawings, after the ‘man/bird’ images of T5T post, If you think you can survive looking at the pictures, please go ahead with the rest of the article. 🙂

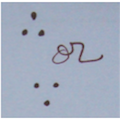
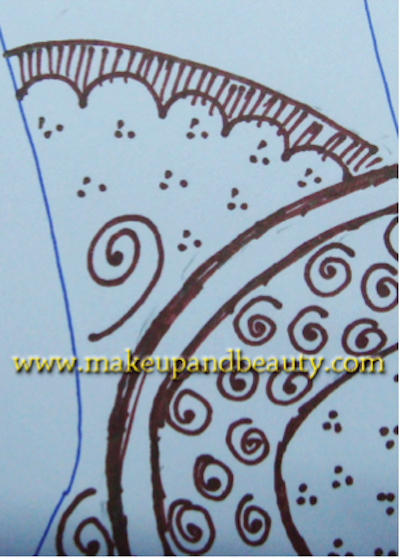
For these henna designs, I have used a few simple motifs. First is the ‘dots’. They are usually drawn in groups of three like the signs for ‘since’ or ‘therefore’

They are very handy for filling up blank spaces
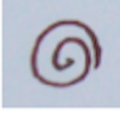
Next up is the spiral
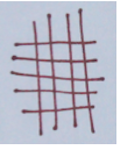
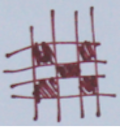
Then the checks
which we fill in the alternate boxes.
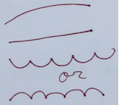
And of course, there are the lines – arcs, straight lines and lacy waves.
Now let us get on with the design.
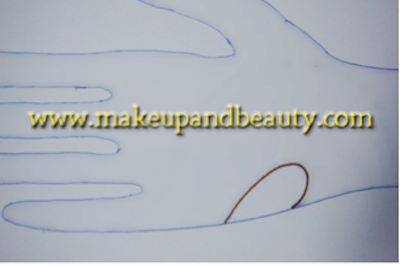
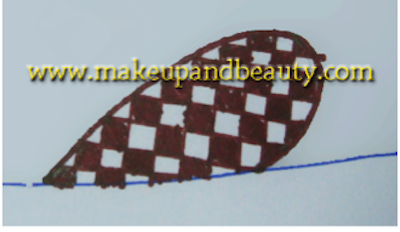
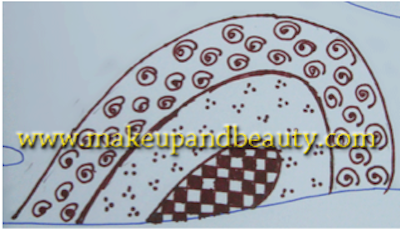
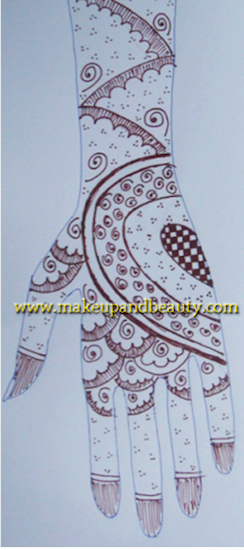
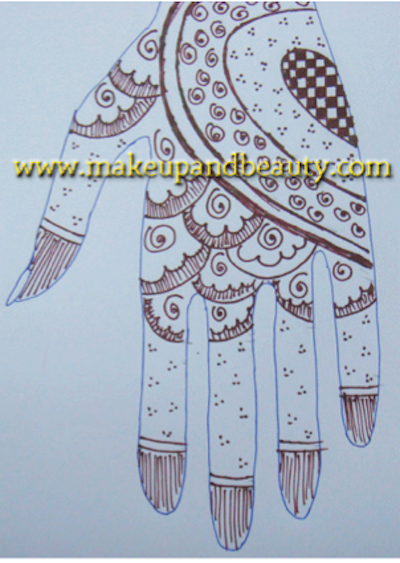
First, make a ‘D’ like curve
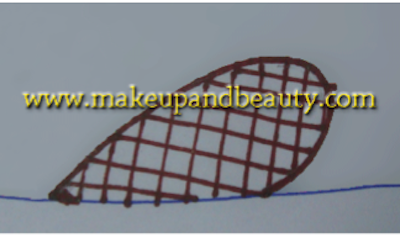
And fill it up with the checks
Remember to darken the alternate boxes.
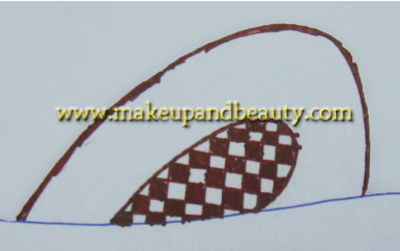
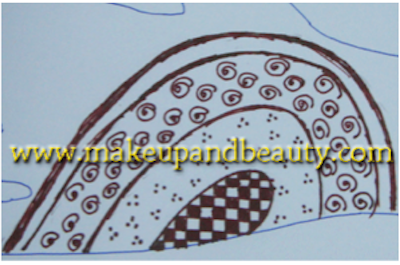
Draw another symmetrical ark over the initial one
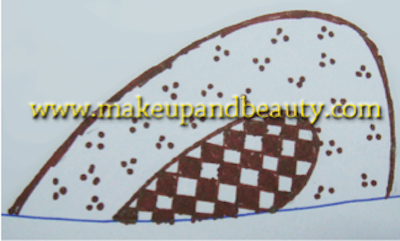
And fill it up with the sets of three dots.
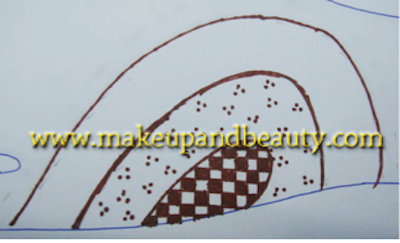
Another arc
Filled with the spirals
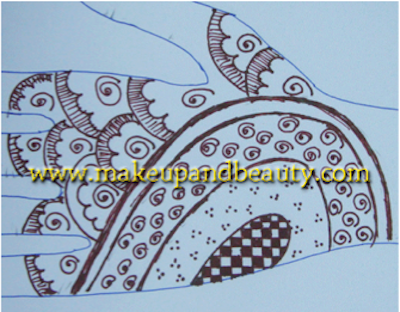
Now make a thin border over the final arc till now
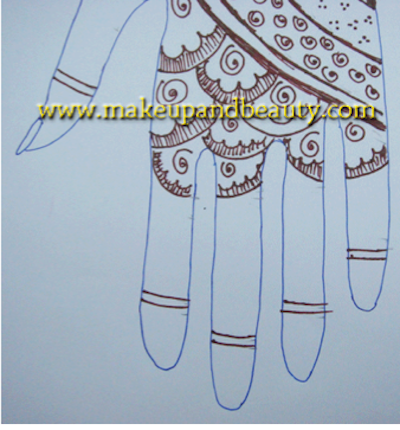
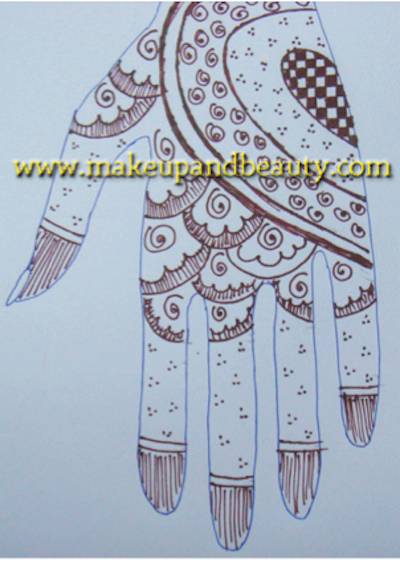
Start filling up the rest of the palm with fans. These fans are drawn by arcs as borders with waves defining the inner space. Add a spiral to the base of the fan and fill up the arc-wave border.
After the palm is filled with the fans, it is turn for the fingers. Make borders demarcating the last divisions on your digits.
Fill up the space in between with the good old dots.
Fill in the tops of the fingers completely and the hand is done. Now we move on to the forearm.
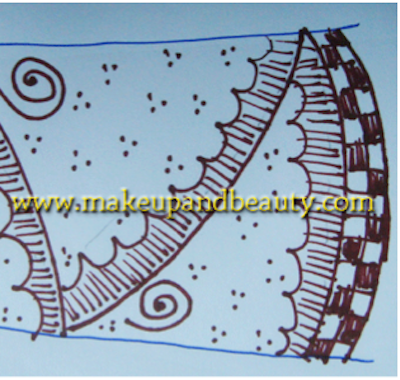
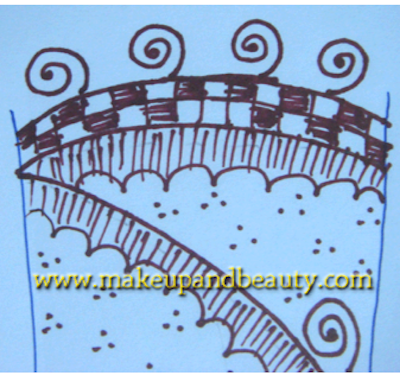
We draw a big fan from one end of the wrist so that the arc reaches the other side of the hand

The space within the arc looks empty. So what? Remember our good friends, the dots?
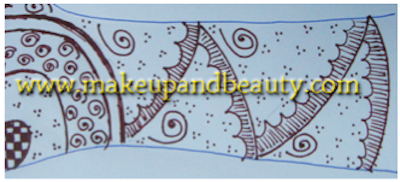
Make a few more big fans
Now we come to the concluding border of the design. I am using the checks.
And adding a few spirals to add to the total effect of the design
And thus, my gorgeous mehendi design is complete with the help of a few simple motifs (dots, checks, spirals and lines) only.
Now do the other hand and you are set for any traditional occasion.
Also Read:
Henna Tattoo Design: How to Apply Henna on Skin
Henna Design Tutorial for Karva Chauth- 1
Henna for Hair- Tips and Usage




Are you a professional Mehendi artist Scarlett? Nice work.
hehehehe ..super !!!!! this is a really nice tutorial scarlett….. u did a fantastic job!!!!!!
rati … if ur reading.. i have sent you a mail .. i ll be waiting for yr reply 🙂
huh !!! for me it was other way round …… i take time to do on other’s hands and i do the design jiffily on my hands… also i make no mistakes on my hands…. lol lol
hehehehe yups … even i do only left hand … right hand sumone else has to do it for me … hehehehehehe
i wish i was ambidextrous too.!! :/
i can put lovely mehndi,..but its of no use coz i cant obviously put on my other hand..as a result i never end up applying mehndi on my hand by my self 🙁 i havta beg others to put on both my hands so that it looks like its done by one person only :weep: :weep: :weep:
checking..
fantastic Miss Avon 🙂
when can I get my mehendi done?? 🙂 🙂
hehe 🙂
superb tutorial khub bhalo 🙂 i always struggled with mehendi compared to my friends who could easily paint their hands in any and every ceremony .. gee now even i will try this 😀 : :happydance: :happydance: yay: :thanks:
ya re .. aamra bongs ra to generally ma bone’der teke siki ni so idea hoto na puro design dekhe mone hoto wow.. so big kikore banaye .. never gave a thot of breaking it down lol 😛
now i’d try and let u kw next time for sure 😀 :-*
aww.. thank u sho much :-* :heart: love u for dis 🙂 :blush:
:)) :thanks:
WOW!! :woot:
hey we hv some great artist here. awesome babe’s :waytogo:
Scarlett, LOVED the tutorial – never seen anything explained so simply and so well :thanks:
you know I bought dinoz and instead of cute piggy i got datty looking orange monster :weep: :weep:
Me toooooooooooooo..got horrible orange thing…yuck…so I got tikkeeeez this time…is not good… 😐
haan too oily…dinoz is good. 😀 😀
Naaaaaaaaaaaaaaaaaaah…I think I am beginning to like the Grinch 😀
prettyy design scarlett.. :)) :)) :-*
Hi girls
chek this link out…. and go for it….
http://olay.netbizlabs.com/index.aspx?src=KomliStandard1&bs=300X250
OMG Scarlett….. u made it seem so easy peasy.. wowwwwwwwwwwwwwwwwww :happydance: :happydance: :happydance: :happydance: :happydance:
I used to think mehendi design is so intricate and tuff…
good re- I can try that now 😉
:thanks: :thanks: :thanks: :thanks: :thanks: :thanks: :thanks:
SCarlett it’s a beautifully explained tutorial..even mehendi books don’t do justice to their explanations. :-*
very nice Scarlett….loved it for the simplicity :-*
such a detailed tut :rose: :rose: :rose:
….I remember my first post here…..with no time in hand :(( ….hehe
uske pehle i’ll have to search a mehndi cone in florida… :((
Fill a plastic syringe with mehendi paste :yelo:
Wow this is a fab tutorial!!
I used to learn mehendi earlier by doing it on paper first, but I sucked so bad that I just left doing it 🙁
Wish I had a teacher like you :woot: :-*
Anyway I might give this a try someday :))
hey that’s really nice
just a couple of simple designs and the whole palm is filled with beautiful patterns!
Awesome informative article, thanks a ton for this :jiggy1: – really enjoyed reading it.
Scarlett, you’re so creative! this is great!
Scarlett, you know, I am such a big mehendi fan, but when the designs don’t come pretty on my hand, I hate it……now I can draw on my own using this tutorial. :yahoo: :yahoo: :yahoo: ……..thankies Scarlett :thanks: :thanks: :thanks: :thanks:
i demand more mehendi tutorials from you scarlett…… :joker: :joker: :joker: :joker: :happydance: :happydance: :happydance:
such a descriptive tute…. u have so much of patience :jaiho: :jaiho: :jaiho:
loved the design… will try it…. thx scarlett :waytogo: :waytogo:
Wow.. Thanks for this easy tut 🙂
Lady gabbar is rather talented!! amazing design n drawings. I’ll take this to mehendi wale bhayyaji next i m in india :toothygrin:
lolz!!! that’s what you cut thakur’s hands for ?? 😯 :lol2: :lol2: :lol2: :lol2: :lol2: :lol2:
Mehendi wale bhayyaji have same usual boring peacock always 😐 me want new design hearty heart :jiggy1: :jiggy1: :jiggy1:
Easy Peasy!!!! good one..