Hi ladies,

In my last post I shared the facts about chemical peeling, that can be done at home as well. So today’s post is to help you with at-home chemical peeling.

Is chemical peeling at home easy and safe?
There are many home kits available for DIY chemical peel treatments, and some are weak enough to be safe, even without professional supervision. As a general rule, so called over-the-counter peels do not damage the skin and therefore cannot produce the same sort of results, that a peel performed by a physician is likely to achieve. On the other hand, they are safe products and are unlikely to produce any skin damage.
Preparing your skin for at-home chemical peel:
• If you take any tretinoin-based prescription products like Retin-A or Differin, discontinue use at least 1 week prior to your peel. Tretinoin is often used to treat acne or minimize the appearance of fine lines and wrinkles. These products have the potential to irritate the skin, which could impact the outcome of your peel.
• People who get cold sores (herpes simplex infections) should start on antiviral medications like acyclovir (Zovirax) one week prior to treatment and continue taking these for two weeks after therapy to prevent reactivation of cold sores.
• Those with darker skin may also require pre-treatment with hydroquinone preparations.
• Using high SPF sunscreens prior to and after peeling is mandatory.
How to apply a chemical peel?

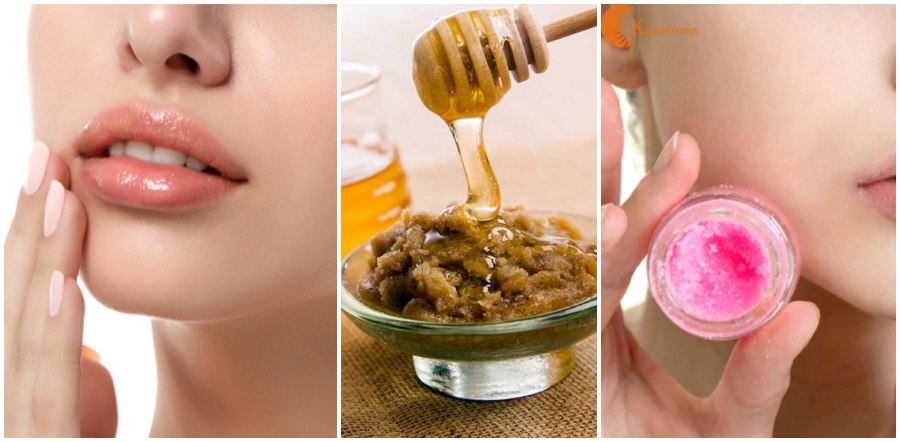
Step 1: Perform a mild exfoliation treatment 24 hours prior to your treatment, using a gentle facial scrub. After washing the skin, apply a pH solution to prepare your skin for the peel.
Step 2: Perform a patch test prior to the peel on your forearm, or on the skin below the ear at the hairline. Leave the test solution on for at least 1 minute before washing it off with water.
Check the test patch after 24 hours. If skin looks normal around the test area, proceed with your skin rejuvenation treatment. If irritation, redness or tenderness takes place, lower the concentration of chemicals in the peel solution and try another test. If you had signs of an allergic reaction, such as raised bumps or itching, try a lower concentration of active ingredients (glycolic acid, TCA, salicylic acid) in your peel solution.
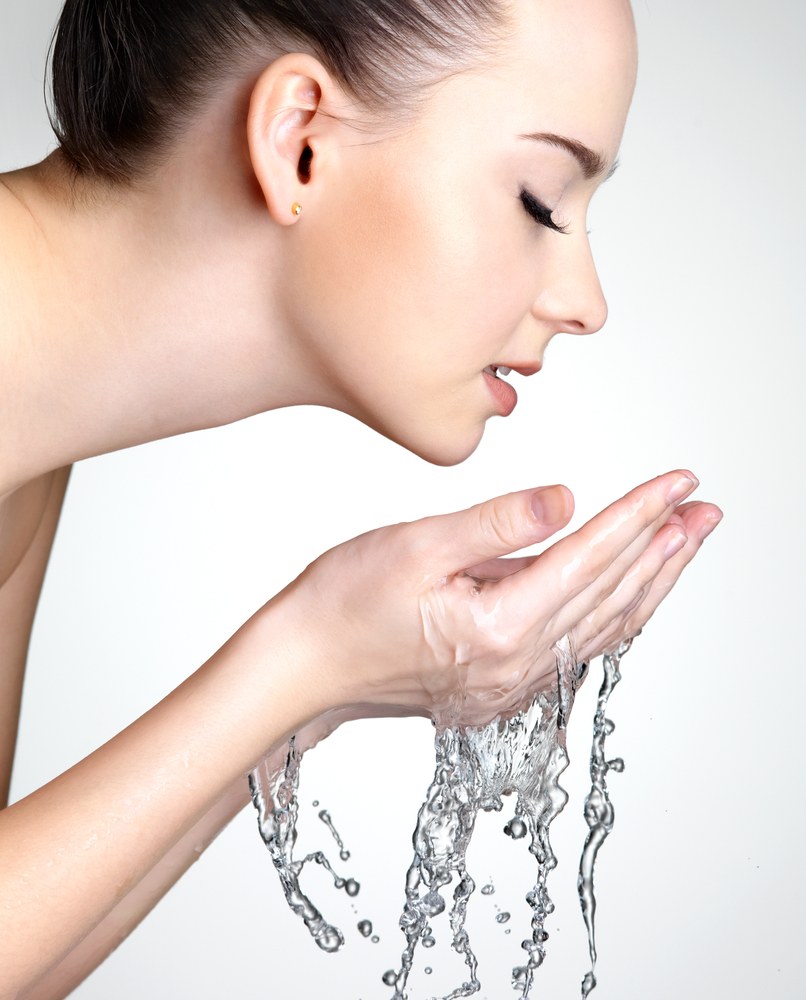
Step 3: Cleanse your face with water and a soap free cleanser. Finish off with the prep solution that comes in the kit.
Step 4: Use a cotton ball or swab or an applicator brush to apply an even coat of the peel on your face. Make sure the application is even, or the results would be inconsistent.
Step 5: Let the peel sit on your skin for the recommended amount of time. Watch for signs of irritation. Some tingling sensation is normal but if there is severe burning, frosting or stinging, remove the solution immediately.
Step 6: Remove the peel and apply a neutralizing solution. Many kits come with a neutralizing solution that halts the work of the chemicals, so they cannot continue to burn the skin. If your kit does not come with a neutralizer, that means your peel is designed to stop working as soon as it is washed off, and an additional solution is not needed. However, please read the instructions in your chemical peel kit to confirm if a neutralizer is needed.
What to expect?
Mild tingling sensation may occur, which is pretty normal. At-home peels are painless. Also, the skin might flake following the peels. This is because your old skin is actually being peeled off.
When or How often to peel?
Different skin types require different face-peel regimens. In general, a series of three to six peels two to four weeks apart should result in a noticeable difference in skin quality. For some patients, peel pads with low concentrations of acid are recommended, which allow patients to continue treatment at home daily or weekly. Depending on your skin problems, your physician would suggest a proper routine.
Post peel care:

Don’t use retinols, which can irritate skin post-peel. Sunscreen application every 3 hours is a must. Post peel skin is very sensitive, hence if you don’t protect it, you may face post inflammatory hyper-pigmentation. If possible, try to avoid the sun during and immediately after the healing process. Redness should last only a few minutes after your peel. If dryness, irritation, and redness persist longer than that, try using products with hyaluronic acid for added moisture and green tea for soothing properties.
Advantages of at-home peels:
1. No down time for recovery.
2. Mild enough to do by yourself.
3. No professional needed.
Some of the best rated products:
Following are some of the best rated peels based on user reviews and expert suggestions:
• Nuju Dark Spot Corrector Cream
• Oro Gold 24k Deep Peel
• Daily Choice Peel
• Garnier Skin Renew Clinical Dark Spot Overnight Peel
• Freeman Feeling Beautiful Pineapple Facial Enzyme Mask
• AmorePacific Treatment Enzyme Peel
• O.R.G. Skincare Organic Mineral Peel Face with Brightening Agents
• Peter Thomas Roth Pumpkin Enzyme Mask
• Philosophy The Microdelivery In-Home Vitamin C Peptide Peel
• Kiehl’s Over-Night Biological Peel
• Olay Regenerist Microdermabrasion and Peel kit
• Michael Todd Organics Pumpkin Mask
• Juice Beauty Green Apple Peel
Everything You Need To Know About Chemical Exfoliation
Glycolic Acid Peel in 4 Easy Steps
TCA (Trichloroacetic Acid) Peel Treatment and My Personal Experience
Glycolic Acid Peel for Acne
Glycolic Peel Treatment and My Personal Experience
Homemade Facial Peel for Skin