Hello ladies!!!

Contouring really excites me! I follow a lot of Instagram and YouTube makeup artists and this trend of contouring, although is not very new, is gaining popularity; thanks to Kardashian sisters! I mean, this art form has the power to change the way you look and give you chiseled features without having to go under the knife. I have been trying to learn it, but it is not that easy. I am lazy and my husband gets annoyed with me if I take hours to do my makeup. Lucky us, that we now have a reverse contouring technique called strobing!
Strobing has existed in the makeup world for a long time, but turns out that it used to be called reverse contouring. The word ‘strobing’ was derived from the word strobe lights which are used during photo-shoots on the models to find the glow points on them.
Strobing basically is an anti-contouring technique. Contouring is used to bring out or put back your features using products that are a shade or two darker and lighter than your skin tone. Contouring is a game of shadows. You also need a tonne of products and multiple layering to get the contouring effects. Although this sounds easy, it really is not! To master contouring, you need practice or you will be left with an extremely discoloured messy face. So, to save people from the trauma of contouring here comes STROBING.
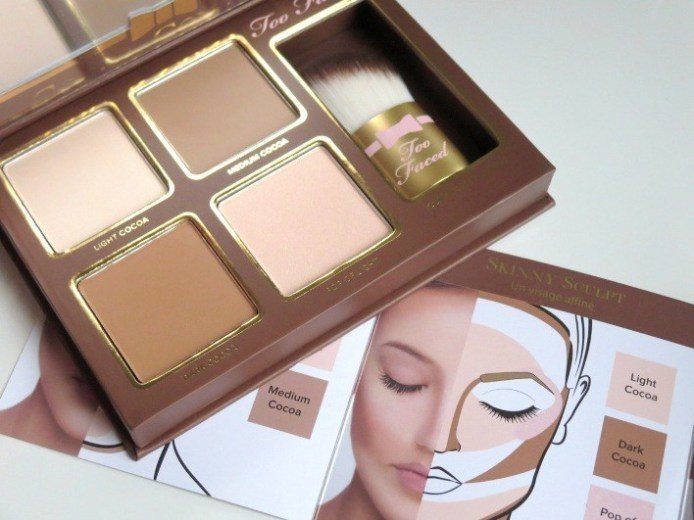
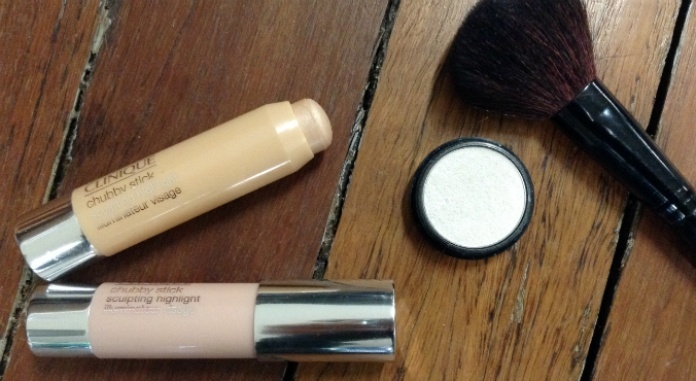
Contouring Kit:
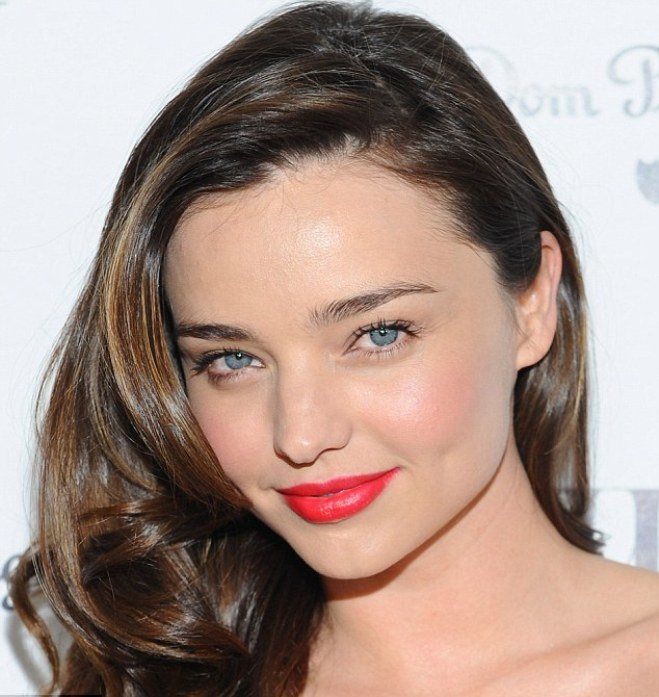
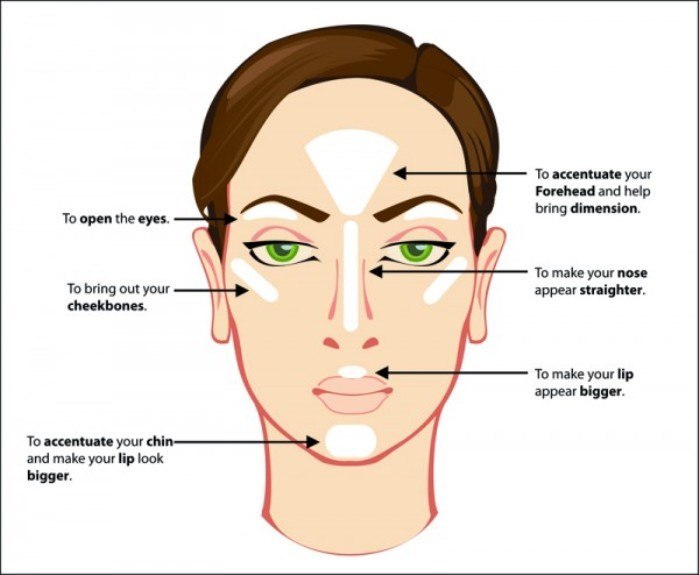
Strobing focuses on defining one’s features by using the illumination technique. It is a highlighting technique that brings up those high planes and points on your face which would catch light naturally. One has to use exclusive highlighters on areas like cheekbones, brow bones, centre of forehead, down the nose and the chin. Hence, no layering and the effects can be achieved with only one product.
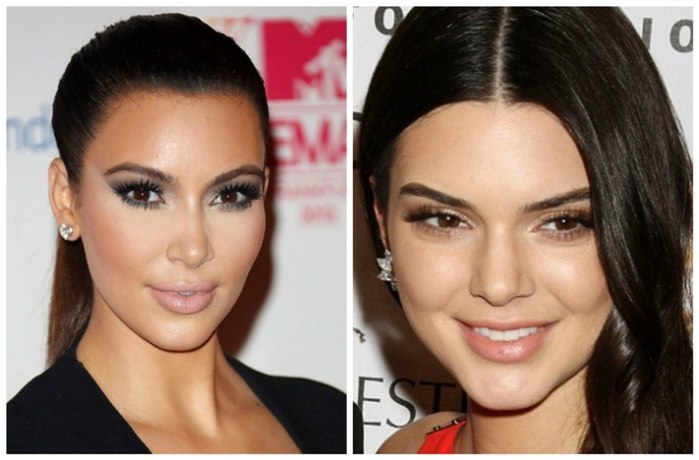
Left – Contouring, Right – Strobing
Strobing sounds totally less maintenance than contouring, but remember one thing that the base for strobing needs to be healthy and naturally glowing skin as strobing does not involve multiple layering of foundation, concealers, and bronzers.
Strobing Kit:
One can use highlighters on moisturised skin or if one wants to go one step ahead, they can use foundation and concealer and then the highlighters. Strobing calls in for a fresh dewy look. Here are a few tips to help you go about strobing:
• Since strobing is going all dewy and glowy, one must prep their skin with a good moisturizer to get rid of dullness and dryness. People with oily skin should use an oil control moisturizer.
• Use a highlighter that compliments your skin tone and does not give you a frosted look. It should add a subtle sheen to your face. For fair skin, go for champagne toned highlighters and for light to medium skin tones, go for pink under toned champagne colour. Golden toned highlighter will look good with a more wheatish or say olive tone skin. And, for dark skin more of bronze or terracotta tone highlighters will do the work.
• Use these highlighters only in places of your face where it would catch natural light like cheekbones, brow bones, temples, down the bridge of the nose, corners of the eyes, cupids bow. Do not apply these highlighters all over the face as it will look too messy. Remember, our objective is to highlight our features only. People with oily skin can skip their T zone and chin as these are anyways shining.
• Make sure to blend the harsh lines and even out your highlighters with the help of brush or sponge so as to match it up with the rest of the skin.
• For oily skin, to avoid looking like a disco ball choose matte stuff for all your makeup and use a shimmery highlighter. Avoid highlighting areas that have breakouts.
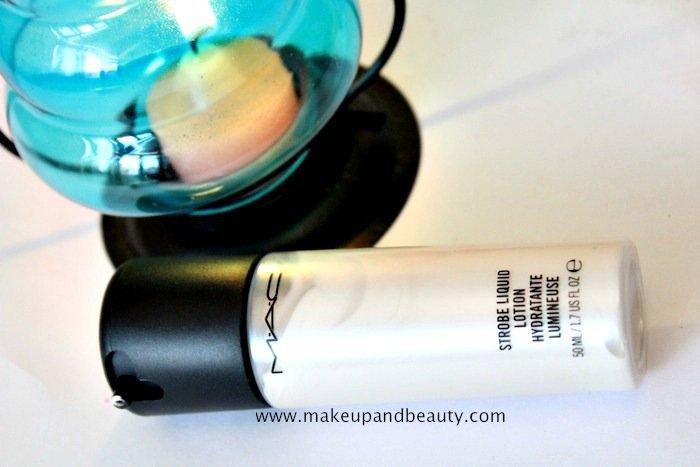
• There are ample of products in the markets for strobing and one’s that I have heard many YouTube makeup artists use for strobing is MAC Strobe Cream, theBalm Lou Manizer, Benefit High Beam, NYX Liquid Illuminator
I feel strobing is fun and less time consuming apart from being more subtle and natural for daily use than going in for contouring. Let me know your thoughts on the same!
Image Source: 1, 2, 4, 5, 6, 7
Bizarre Fashion Trends From Around The World
10 Wierd Beauty Treatments from Around the World
Urban Decay Naked2 Basics Palette Review, Swatch, FOTD
Basics on Blending of Essential Oils and 5 Easy DIY Aromatic Blends
Outfit of the day : Basics with a Twist
Common Nail Polish Mistakes We All Make
Tips to Pull Off Orange Lipstick Like A Pro!
10 Makeup Trends You Must Try!
11 Different Ways To Use White Eyeliner Pencil
10 Tricks to Look 10 Years Younger Instantly
Beauty Tricks to Look as Flawless as Models!
![Sandwiches_for_weight_loss[1]](https://makeupandbeauty.com/wp-content/uploads/2024/04/Sandwiches_for_weight_loss1.jpg)


Sayli, thanks for enlightening us about strobing, had not heard about this technique much
Your welcome Jomol, this one is pretty new and highly trending on IG
Contouring gives the best sculpted effect , but you are right! It does look like a lot of makeup especially for regular use 🙁 Strobing is a good alternative , it`s a much cleaner look. I really liked this post.
Thnx arja, I love contouring too but feel it requires too much of everything time, products, patience..hehe..strobing a better alternative 🙂
Such a nice, subtle technique to get nice glowy face. I have not been able to learn contouring so far, this one seems easier.
I keep trying contouring and the biggest pain is to find the right shade of products for oneself..strobing is much easier 🙂
Though I had heard bout strobing, this post was really informative
Thanks for the post Sayli since I think contouring is just not my piece of cake but I can surly try this technique
Thnx Shreya:)
Very nice and informative article Sayli.. I must admit, I have not once heard about this technique! Must work on it now 😀
Strobing is good it gives me a very healthy looking glow but I still contour my cheeks because I have slighty high cheekbones and if I only highlight it looks weird, I like the combination of contouring and strobing. It gives me shape + glow!