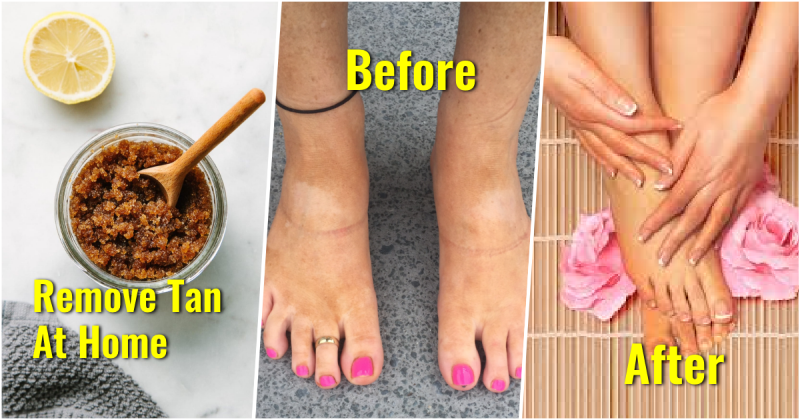
We all love to flaunt glowing skin. Women spend hours to pamper their face and body but neglect pampering their feet. This results in severe tan either due to sun exposure or due to wearing of different kinds of footwear. Just have a look at the skin tone of your face and feet, you will find a sea change in how both of them look. Just like one should take proper care of one’s face, giving proper care to pamper the feet is also essential in order to remove this heavy tan from your feet. Remember, no outfit looks perfect without a proper makeover of your feet. We do agree it is not possible to visit the salon every week and spends hundreds of bucks to get a whitening pedicure done. That’s why in today’s post, we will tell you how you can do whitening pedicure at home with simple kitchen ingredients. Take a look:

A Simple Whitening Pedicure at Home to Remove Tan:
We have enlisted all the steps on how you can get a whitening pedicure treatment at home with the help of a few ingredients that are really cost-effective on pockets. So, let’s begin.

1. Do proper trimming of nails:
First, dip a cotton ball in nail remover and remove the nail paint from your nails. Take your pedicure kit. From the tools provided, use the nail cutter and give proper shape to your nails. Give them proper shape at the corners using a nail buffer. This helps to smoothen the edges into a rounded or square shape.
2. Soak your legs in water:
Now the following step is to remove dirt and impurities from the feet. For this, you have to soak your feet in a tub filled with lukewarm water. Add some mild shampoo to this solution. Keep your feet soaked for about 10 minutes. This helps to soften hard skin and reduces feet inflammation.
3. Cleaning of legs and nails:
Now that your feet are ready for the pedicure, let’s begin with some basic cleansing. Take some warm water in a bucket and add half a cup of apple cider vinegar and 2 teaspoons of baking soda. Mix them well and soak your feet in this mixture for about 5 minutes. This chemical-based solution has a natural bleaching agent which helps to lighten stubborn tan from your feet. Now pat your feet dry.
4. Scrubbing of feet:
The next step is exfoliation of dead cells from the feet. For this step, you would need to prepare a DIY whitening pedicure scrub. Coming to the whitening clause, using lemon juice is the most important ingredient. To prepare this scrub, take a freshly cut lemon and add its juice to sugar. You can also add some baking powder to it for better bleaching action. Apply this scrub on your feet and massage in a circular motion for about 10 minutes. Use a toothbrush to de-tan the sides of your nails well. The bleaching action of lemon lightens the tan and sugar particles helps to exfoliate dead skin cells to reveal smoother skin. Post washing your feet, dry it with the help of a towel.
5. Application of whitening pack:
This is the most vital step of this whitening pedicure. You would need about 7-8 tablespoons of Multani mitti/7-8 tablespoons of gram flour. Both these ingredients have great whitening power. To prepare this feet whitening mask, add some lemon juice, freshly peeled cucumber gel, rose water to Multani Mitti/gram flour. Mix all the ingredients well to make a smooth thick paste. Apply the pack to remove the tanning from your feet within minutes; Wash it off after 15 minutes. Pat your feet dry.
6. Moisturize your feet:
This is the last step of the pedicure and this step ensures that your feet get well-nourished. Moisturizers help to nourish the skin and lock in the glow. It also helps to banish dryness and hardness of your heels. For this step, any moisturizer would do. If you don’t have moisturizer, you can also use almond/coconut oil to a few drops of lavender/rosemary essential oil and apply this to your feet.
7. Paint your nails beautiful:
To give a finishing touch to your feet and give some protection, you have to paint your nails beautiful. It gives a well-groomed look and gives protection to nail enamel. Start with a base coat followed by any nail polish of your choice. Finally, coat your nails with a transparent top coat for better lasting of color and shine.
So, here we come to the end of this whitening pedicure treatment. It is really easy to do at home and doesn’t take much of your time. Do this once a week and tell us about the results in the comments section below. And always stay beautiful and glamorous!!


