
Mr. Snowman (Christmas inspired nail art tutorial)
My Warm greetings to all the beautiful ladies out here.
This is my first post at IMBB and I am hell lot excited about this. When I thought about what my first post should be about, it struck me why not do nail art tutorials because I am a diehard polish addict and there has been a hype about nail art all around lately.
I am not an expert at this. I started off with doing French tips for myself for about 6 months ago, and eventually fell in love with the concept of nail art. I tried my best to be simple and use least possible and inexpensive products, so that everyone can have a piece of this cake.

So let’s get back to the point,
“THE TUTORIAL”
Since it’s getting cold outside and we are nearing the fabulous festival of Christmas and then the New Year (which means lots of parties, makeup, and dazzling nails), I tried to recreate the spirit of this season on my nails.
Hope you gals would like it
So, FINALLY LET’S GET STARTED
THINGS YOU WILL NEED:
1. Base Coat (Avon smooth beginnings is a good option)
2. Red nail color (you can choose between matte or shimmery colour, what I use here is a shimmery
one)
3. White nail paint (color bar has one, or you can use the one from your French manicure kit, if you have one)
4. Black liquid eyeliner (I am using Avon waterproof eyeliner blackest black)
5. Top coat (oriflame gloss coat)
6. Toothpicks
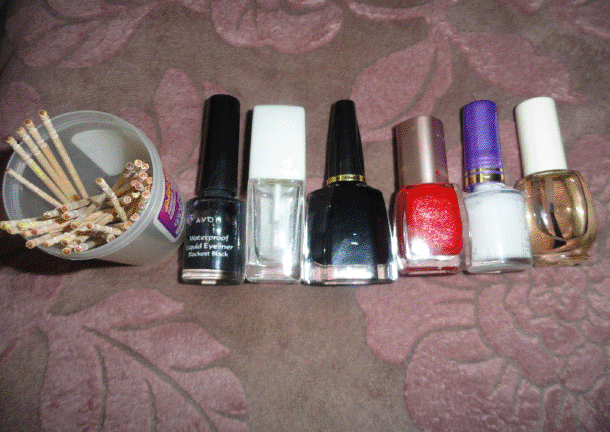
You can use black nail paint with a toothpick if you don’t find a black eyeliner
Step1
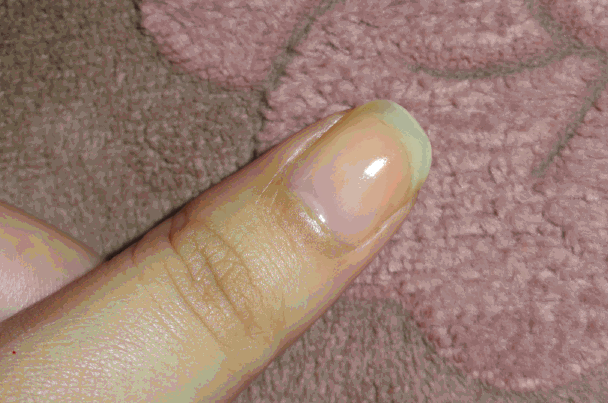
Apply base coat. You can also use clear polish instead of this if you don’t have any base
coat.
Step2

Now apply red nail paint
Step3
Let your nails dry
Step4
Apply the second coat of red nail paint (you can skip this step, if the color payoff from first coat is good enough. This will depend on the consistency of the nail paint that you will use.
Step5
Take a toothpick
Step6
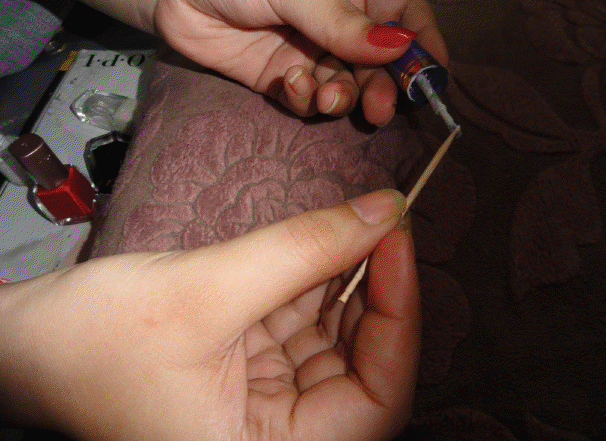
Dip it into the white polish bottle, or alternatively you can pick up the white nail paint from the brush of the polish. It’s just your choice how you feel it more easy and comfortable
Step7
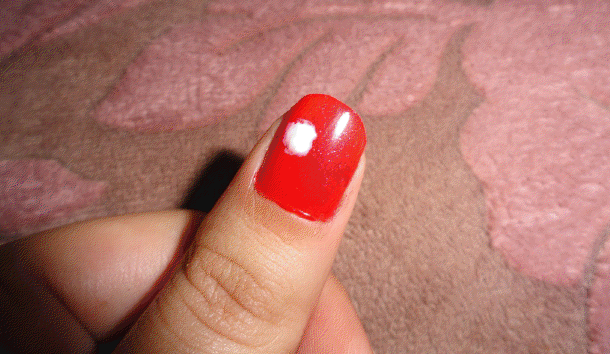
Make a small white dot. This will be the face of our snowman, so size should be such that we can draw eyes and lips later
Step8
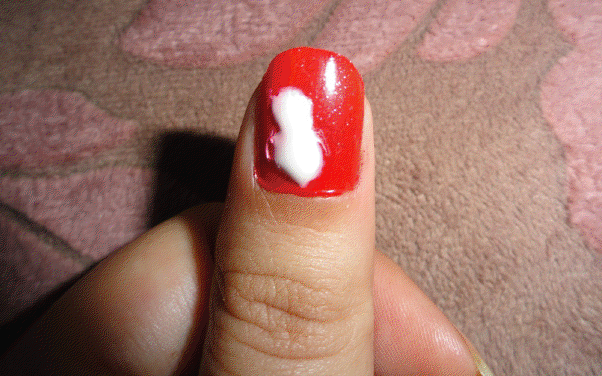
Make a bigger dot under the small dot. This is going to be the tummy of our snowman.
Step 9
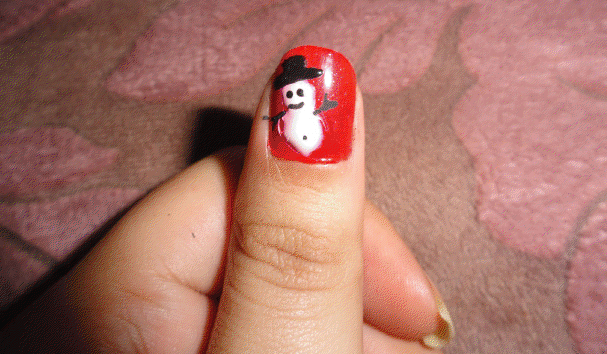
Now take the black liner and dot in the eyes and lips. Draw horizontal lines to make his hat. Add some
hands
Step10
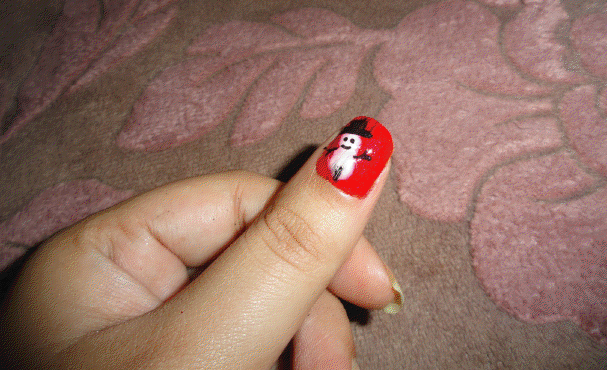
Now top it with a gloss coat and let it dry and you are good to go.
TIPS:
1. Instead of using a toothpick, you can make the white dots with the polish brush itself if you are ok with it.
2. After each step wait for the polish to dry, so that there is not a single smudge in sight (you can see mine; I didn’t wait before applying the top gloss coat)
HAVE A GREAT DAY LADIES!!!
XOXOXOXO





Awwwww..this is so so soooooooo cuteeeeeeee Kanika!! Louuuuing it completely!! 🙂 🙂 🙂 🙂 🙂 🙂 ..Awesome tutorial :yes: :yes: :yes: 🙂 🙂 🙂
awwwwww…this is soooo cute re
:-* kanika
so cute..purrrfect for a Christmas party!!
This is super cute, Kanika. :cute: :cute: :cute: And welcome to IMBB. :-* :-* :-*
awww….this is so cute!!
I am loving the snow man….haha…gonna try it this christmas for sure! :dance: :dance:
very cute kanika…… :inlove:
thank u rati.
thank u so much guys :-* ur appreciation means a lot :-* :-* :-*
wow this is sooo beautiful !! :-))
lovely work :yes:
OMG this is so cute Kanika 😀 😀 i so love it! 🙂
Brilliant idea Kanika!! :yes:
What a shweet little snowman. Good idea.
WOW !! this is sooo Amazing !! Snowman came out soo perfect !!
This is sooper idea – and its sooooper adorable !!! 😀
thank u so much guys.i never knew it would be appreciated that much :blush: :blush: :blush: