Simple Valentine’s day Nail Art

This is a simple nail art that I have tried! You don’t need too many tools to do this & anybody can try this! It will take just 20-30 minutes to complete the nail art including the boring part of waiting for the nail color to dry. So let’s get started!
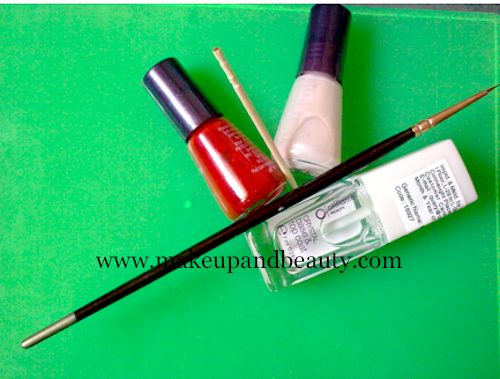
Things you would need to do the nail art are
- Oriflame crystal base & top coat.
- Avon Simply Pretty Nail color- Graceful Nude
- Painting brush
- Avon Simply Pretty Nail color- Cherry Red
- Tooth Pick

 Step by Step Procedure to do the nail art
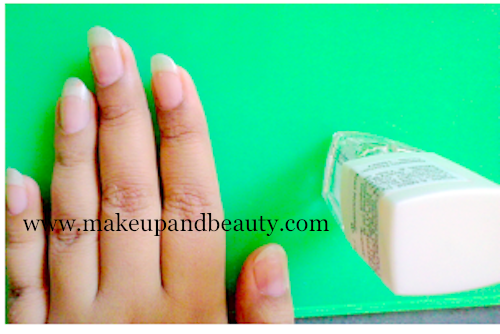
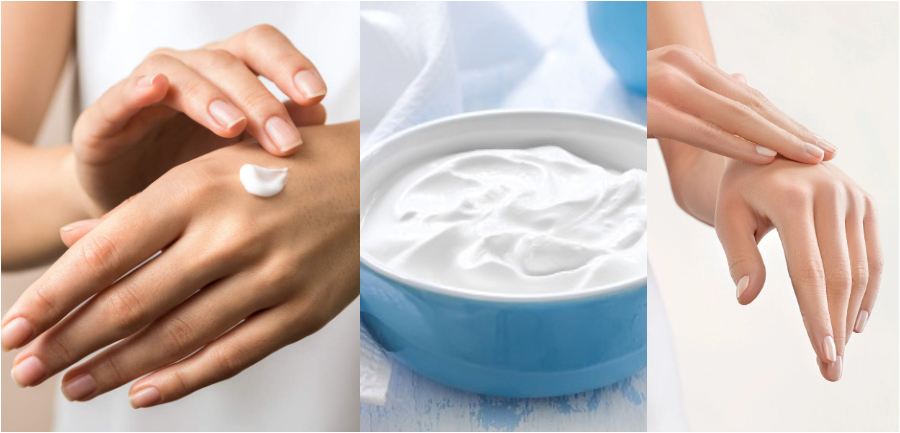
I. Massage your hands with a good hand cream & push back the cuticles.
II. Apply the base coat. The reason why a base coat is applied is because; they create a sticky adhesive base for the nail polish to hold onto & prevent nail polish from staining the nails.
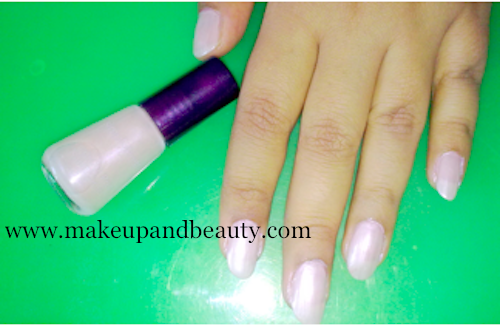
III. Apply one coat of Avon Simply Pretty Graceful Nude nail color & after it dries apply a second coat.
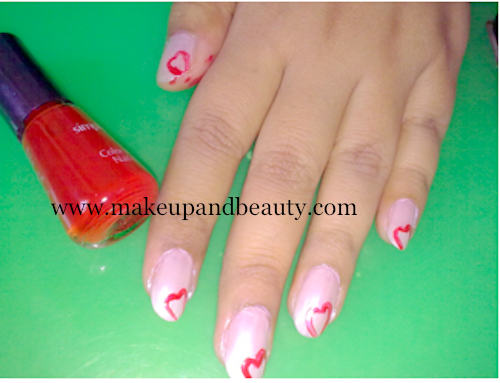
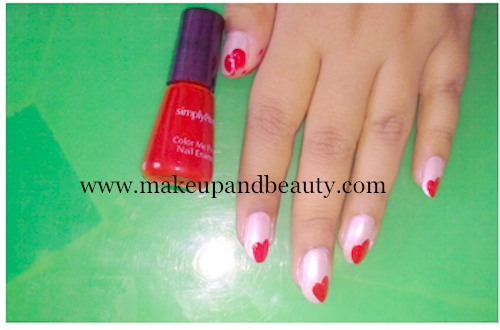
IV. Now take the painting brush & dip it in the Avon Simply Pretty Cherry Red nail color & start making outlines of hearts on each nail.
V. Fill the hearts with the red color.
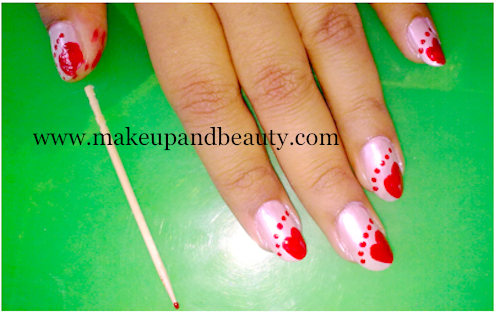
VI. Take the tooth pick & make red dots on top of the hearts.
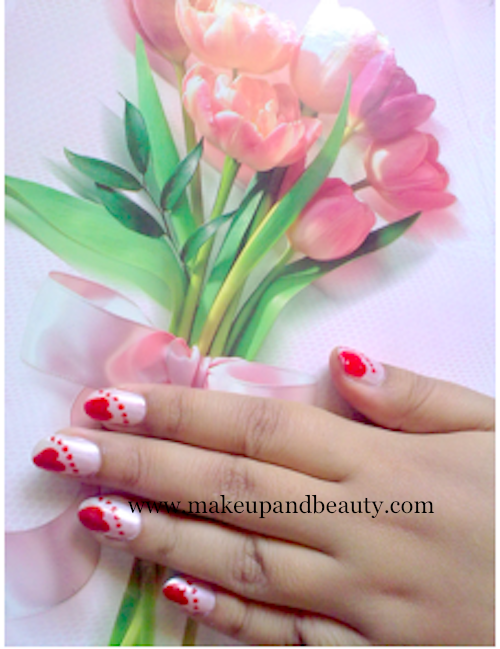
VII. Finally apply the top coat & your done!
Though it looks little clumsy, I enjoyed doing it. I’m happy because no matter how clumsy it looks, my guy likes it! 😉
Also Read :
- Valentine’s Day Gift Ideas
- Valentine’s Day Soft Pinks With Bourjois Smokey Eye Trio
- Lush Valentine Skin Care Range Info
- Polka Dot New Year Nail Art Tutorial
- Christmas Inspired Nail Art Tutorial
- Sponge Technique Nail Art Tutorial
- Cute Smiley Nail Art Tutorial



Thanks Gabbar! :thanks:
Awwwwwwwwww.. :-* This is soo soo soooooooooo cuuuuuuuuuuute and adorable Uzma!! 😀 😀 😀
Cali! Thankuuuuuuuuuu! :))
Its soooo CUTE !!! :yahoo:
Thanks Ritika! :handshake:
cute!!
Sheetal, thank u! Isn’t Everything about Valentine’s day cute,like cards, flowers, chocolates!
super cottteeee :shy: :shy: :shy: :shy: :shy: :shy:
Rati, Thanks for encouraging! :thanks:
awww… chhhooooo cuuuuttteee uzma… :cute: :cute: :cute: :-*
Sireesha, thanks buddy! :)) :handshake:
😀 you made you brush list kya?
not yet Sireesha, somehow its getting postponed! ?:)
oh..
Hey Uzma,
this is cho chweet…. really cute…. Love it… and no! it’s not clumsy… :)) :waytogo: :heh: :inlove: :inlove:
hi tarannum.. 😀 did you finalise your party look? :))
Tarry! Thankuuu, I thought it looked clumsy! :))
pretty 1 uzma… :))
:thanks: Bhumika!
cuteeeeeee uzma :-*
Veda! Thanks :))
yup they are.. :rose:
lovely lovely :d
m so trying this out hehehe
Yeah Bee, its very easy, give it a try! :inlove:
awsome uzma… V preetttyy
:thanks: Priyanka!
Hey Uzma its cute ,not clumsy :heart:
Sonam! Thank u so much for the appreciation! 🙂
it looks really cute and pretty Uzma 🙂
Suma :thanks:
this looks really cute 😀
and easyy!! I will try this 🙂
Prachi thanks! 🙂
Thanks Insiya! I’m glad you like it & do try it! 🙂