Hi ladies,

I did this nail art this weekend and wanted to share with IMMB readers out here. So let’s begin with the art.
Things required:
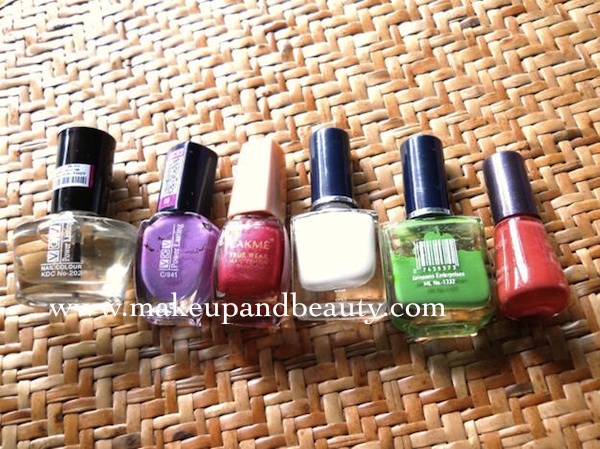
* 1 base coat (not shown in the picture).I have used Avon base coat.
* 5 different color nail paints, I’m using white, pink, purple, green, and beige.
* 1 top coat
* 1 toothpick/ bindi brush/nail paint brush. I have use toothpick here.
* And the most important thing ,a lot of “Patience”

Procedure:
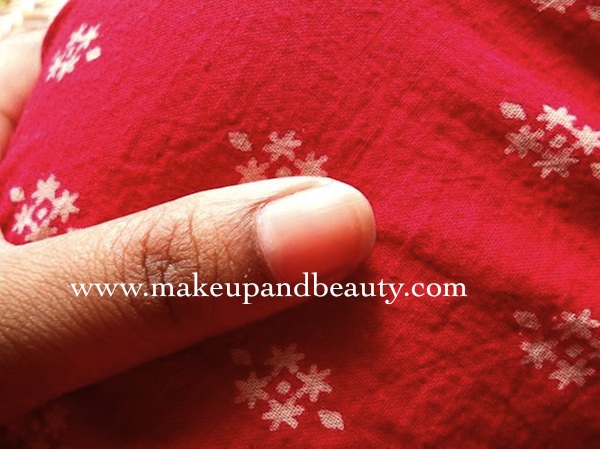
1. First of all using Nail Polish remover, remove old nail polish and make sure that the nails are properly shaped & cleaned.
2. Paint your nails with a base coat. Let it dry.
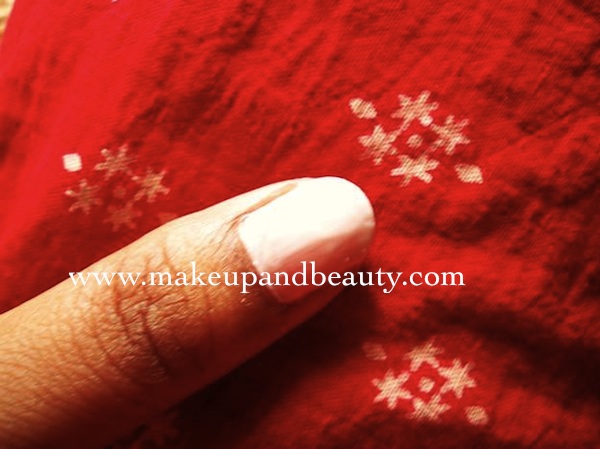
3. Now apply 2 coats of the white nail paint.
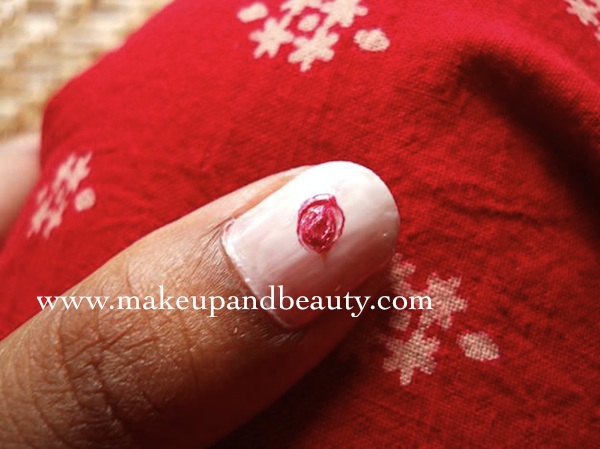
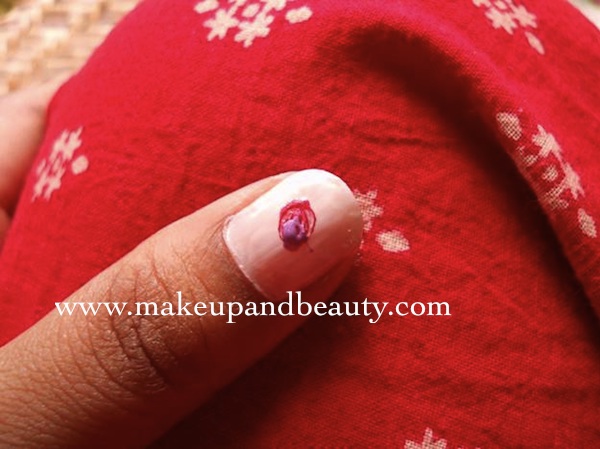
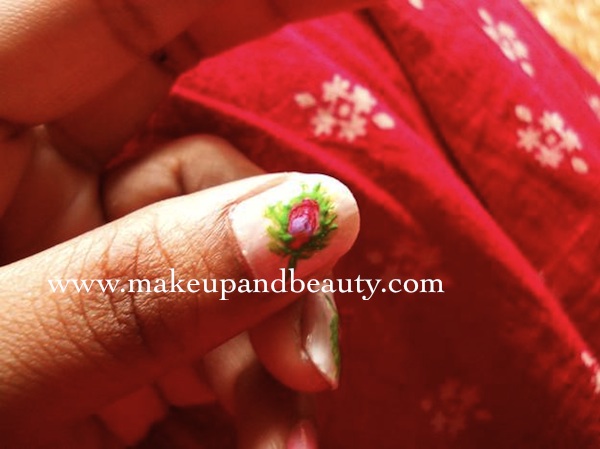
4. Taking a contrasting color, I have used pink here draw a big dot on the centre of your nail as show in the picture. You can place the dot directly from the nail paint brush or else take a small drop of nail paint on a paper and dip the opposite end of the toothpick in the paint to get a little paint on it & then place in on the nail. I have directly used it from the bottle.
5. Taking the pointed edge of the toothpick, drag it in a circular motion, making the dot a little oval in shape.
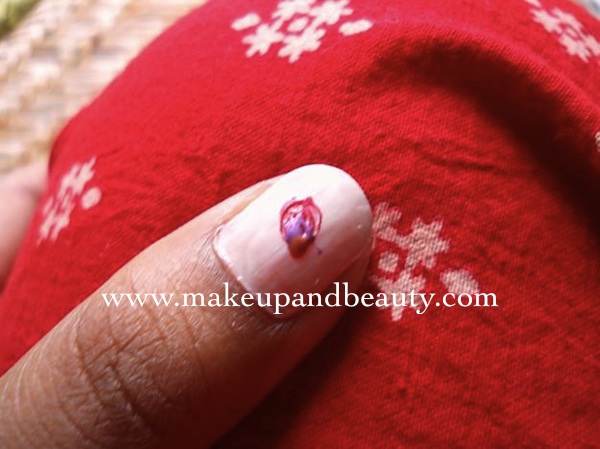
6. Similarly place a small dot of purple color at the edge of the pink dot, make sure the size is a little shorter than the previous. Drag the same with the toothpick into a oval shape
7. Repeat step 6 with a different color, here I have used a shimmery beige color.
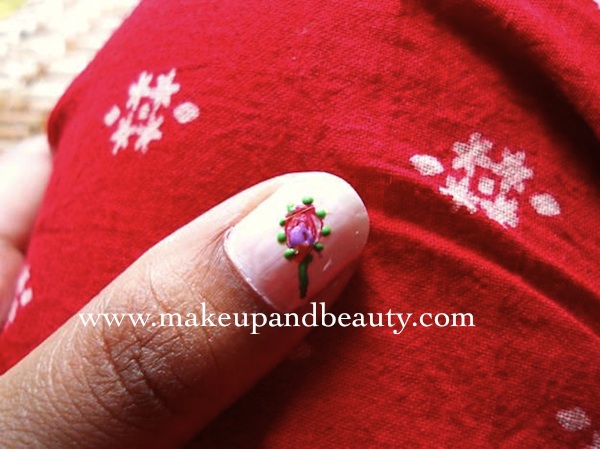
8. Now take the green color and as shown in the picture, make some small dots around the three balls. Also make a small line at the base.
9. Join all the dots to making a circumference to the balls, if required you can use some more colors to make the boundary.
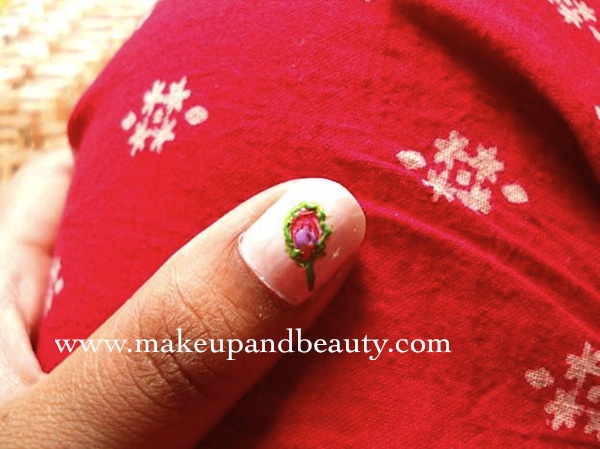
10. Using the pointed edge of the toothpick drag the green color outwards, don’t worry if the base paint also gets dragged with it.
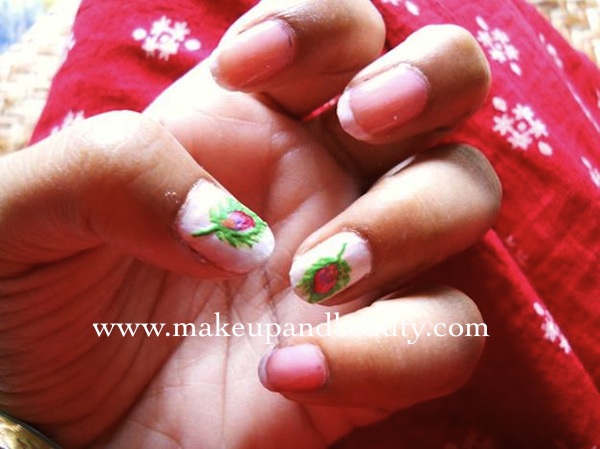
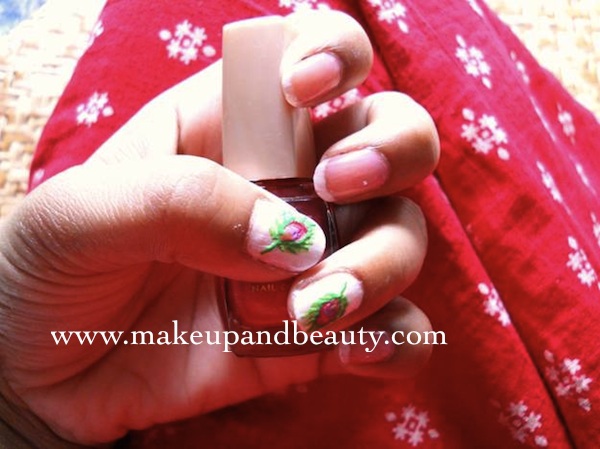
11. Repeat step 4 to 10 for all the remaining nails one by one. If you want you can stop at this only. I have done this for my thumb & ring finger.
12. Finally give your prettified nails a top coat, so that your hard work lasts longer. But make it sure that before you apply top coat the initial nail paint is completely dried, otherwise it may intervene with other colors.
Hope you guys liked my work……
THANKS FOR READING!!
Love Sush!!!
Also read :
Simple Purple Nail Art Tutorial
How To Do Nail Art at Home
Sponge Technique Nail Art Tutorial
Nail Art Video Tutorial for Short Nails
Two Nail Art Designs for Party – Tutorial
Leopard Print French Manicure Nail Art Tutorial
Cute Smiley Nail Art Tutorial
Cute Fruity Nail Art Tutorial



superb sush!! :heart:
:thanks: shrreya
hey rati, pls check the peacock spelling in the heading…. 😉 😉
WoW!!!!!! this is sooooooooo pretty!!!! i loooooooved this to bits!! sachi! :inlove: :inlove: :inlove: :jaiho: :jaiho: :jaiho: :-*
peacook!!!! Ratiiiiiiiiii…….. :stars: :stars: :stars: 😆 😆 😆 :tongue: :tongue: :tongue:
ok..peacoock. 😐 😐 😐 :X-P: :X-P: :X-P: :yelo: :yelo: :yelo: :tongue: :tongue: :tongue:
u liked…. :yahoo: :yahoo: thx a lot.. :thanks:
I loved it!!!! :yahoo: :yahoo: :yahoo: :yahoo: :yahoo:
:thanks: Maria
Good one, will try veryy soon :waytogo:
hi tapaswini, do try it out & let me know… :joker: :stop:
lovely sush…how are you doing???? :-*
:thanks: jomol. i’m fine … hw r u….?? n what special did u do yesterday?? :woot: :woot:
aww this is sooo pwetttttiiieee and feather! dts quite out of the box thinking :))
:thanks: neha.
U know this was my first attempt in nail art… :woot:
glad u all liked it… :yahoo: :jiggy1: :jiggy2:
very pretty sush :yes:
:thanks: bhumika :puchhi:
awesome!
:thanks: for appreciating my work monika…. luv u :puchhi:
superb sush…seriuosly…wanna try this…gr8 :waytogo:
that is so sweet of u darling….. :jiggy1: :jiggy2: do try it out,, its super easy.. :yahoo:
great! i have never done a nailpaint, but i liked it. i think a bit of dark blue wud make it more peacocky. 😛 :))
it was my first nail nail bulbul….. me very happy it turned out right… :yahoo: :happydance: :happydance:
adsolutely i think if the base be blue , it could have been more beautiful…. :victory:
but i have no blue paint :worship: :worship:
That’s a Cute one & me :silly: as i don’t have Patience.. :puchhi:
wow luvlyyyyy