Everyday Opened Up Eyes Tutorial
Hello IMBB Beauties,

I have been away for long and a lot many things are happening around me, but something that I always come back to is “IMBB.” So today, I am going to share with you all a very easy tutorial which was requested long back. I apologize for being late, but still, better late than never, right? So, let us move on with the tutorial. These are the basic tools which we require for this look. It is not necessary that you use the same products that I have used, so I will give general names and specify them as we move along with the tutorial.
Products Needed For This Tutorial:
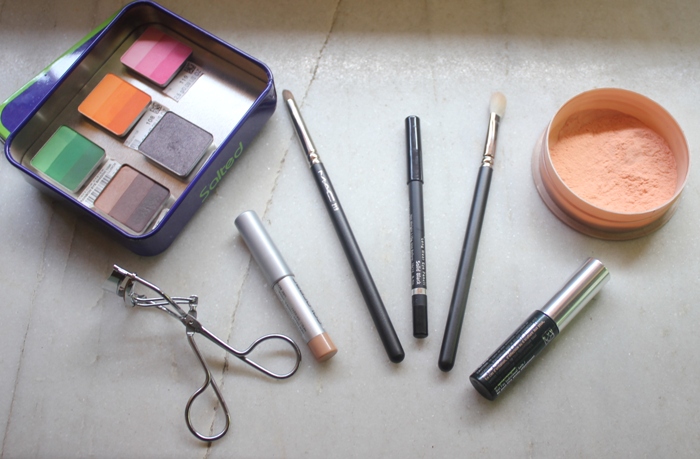
- Concealer.
- Loose powder.
- Brown eyeshadow.
- Orange/beige color eyeshadow.
- Pencil brush.
- Fluffy brush.
- Black kohl.
- Eyelash curler.
- Mascara.
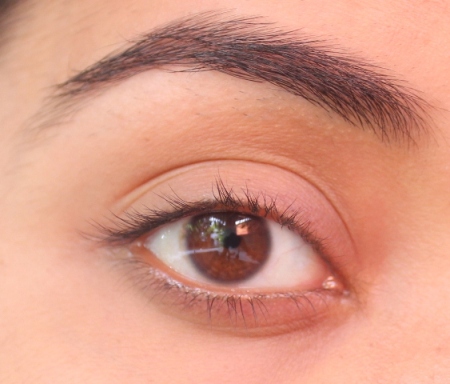
We are going to start off with clean and moisturized eyes.
Dot concealer around your eyes up to the brow bone, I have used my Colorbar Stick Concealer.
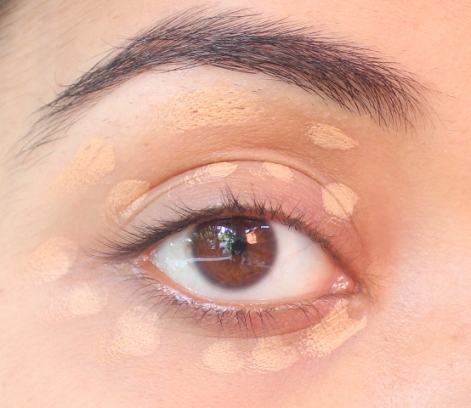
Blend well with your ring finger. You can use a concealer brush but I prefer finger because the warmth helps to blend the concealer well. Dust some loose powder to make the surface smooth. Mine is Lakme Rose Powder.
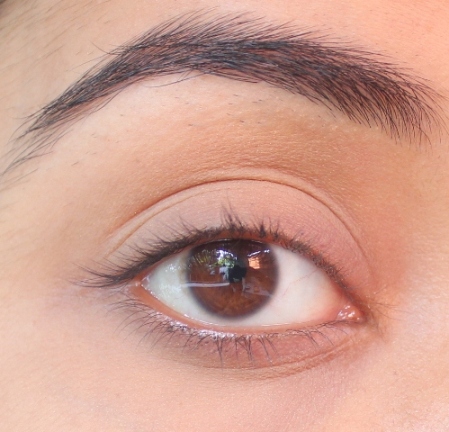
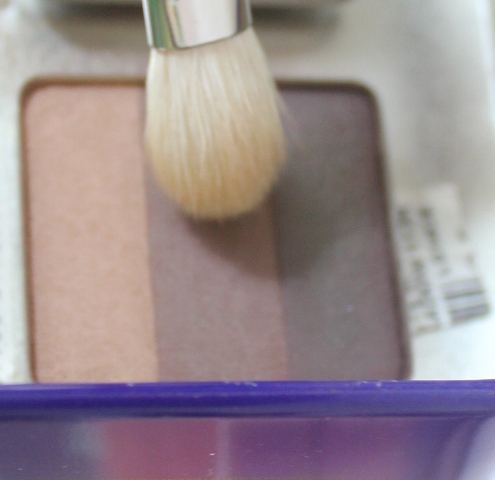
Take some brown eyeshadow on a fluffy brush and tap off the excess. I have used my MAC 217 and the eyeshadow is Inglot 112R.
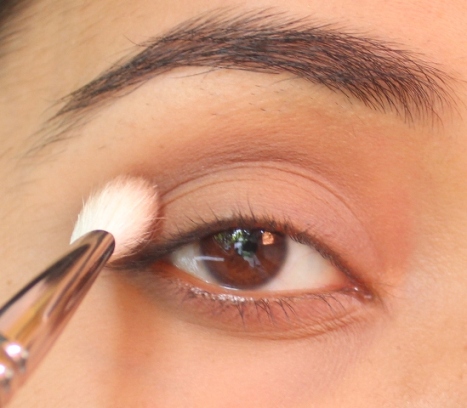
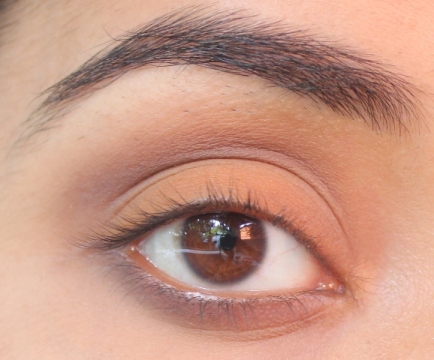
Now, with a light gentle hand, follow the crease of your eye. Start from the outer portion and slowly go in, do not take too much eyeshadow at one go. If you need intensity in the crease, you can build it up slowly.
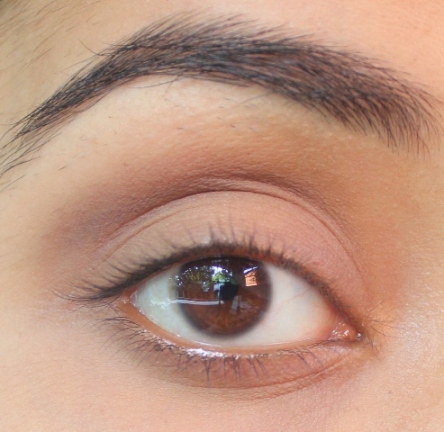
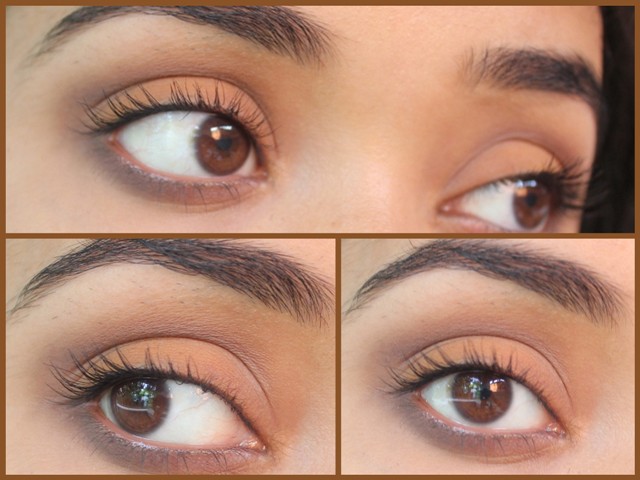
After the previous step, your eye should look something like this.
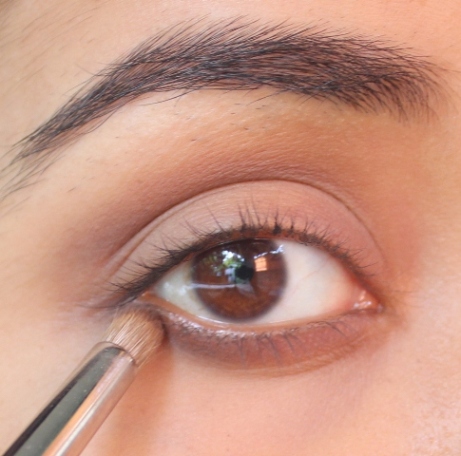
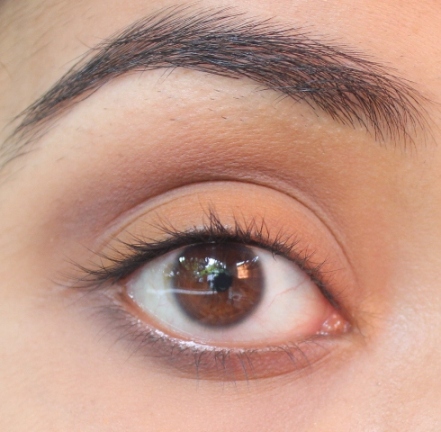
Now, take the same brown eyeshadow on a pencil brush, trace the lower lash line. I have used my MAC 219 brush for this. You can also use a slanted brush, but I wanted a diffused look, so I preferred pencil brush. Here alsom you need to start at the outer corner and come in slowly.
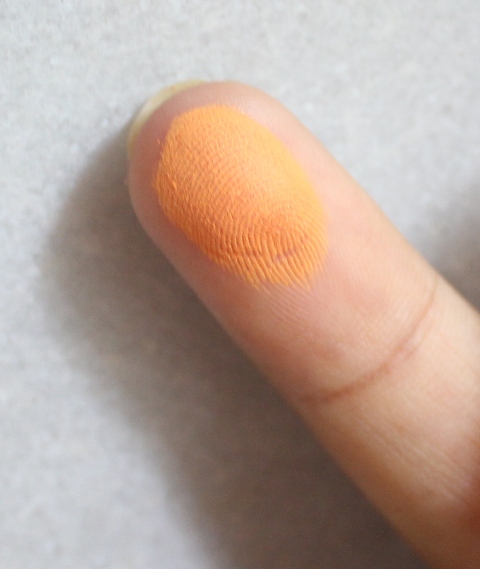
Now, take some orange/beige eyeshadow on the ring finger. Mine is Inglot 108R. I have used orange here because I want to eliminate any color on my lid and make my crease more defined. Those who want to look softer, can use beige eyeshadow instead.
Apply the same on the lid area with a light hand. Make sure there are no harsh lines. If required, take your fluffy brush again and blend everything.
Now taking a black eye pencil, tight-line your eyes. Please note that we are only tight-lining because we want a no-make up look. This will give an illusion of dense lashes without taking away the softness of the look. I have used Faces solid black.
Curl your lashes and apply lots of mascara. Just make sure that your eyelashes do not clump in the process.
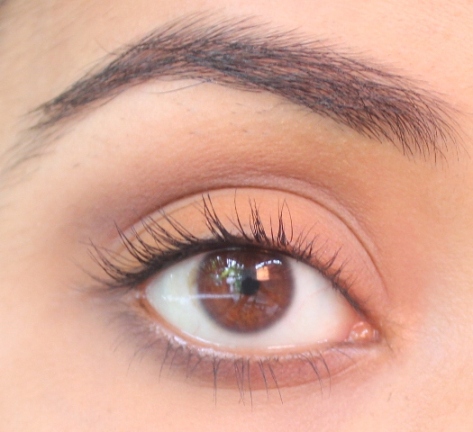
That’s the finished look folks. Hope you like it and I will definitely come back with more. Kindly let me know if there are any specific combination you like to see, I will definitely try my best to do it for you.
Take care and keep smiling (no matter what)!
10 Makeup Products I use Everyday
5 Minute Everyday Eye Makeup Look Tutorial
Essential Everyday Nail Care Tips: Do’s and Dont’s
Office Makeup : Neutral Eye Makeup for Office & Everyday
L’Oreal Paris Open Eyes Pro Eyeshadow in Beige Harmony
L’Oreal Open Eyes Pro Quad: Plum Harmony
L’Oreal Open Eyes Pro: 07 Turquoise
L’Oreal Open Eyes Pro Blue Harmony
Copper Eye Makeup Tutorial
Glittery Eye Makeup Tutorial
Lavender Purple Eye Makeup Tutorial
Mint Brown Eye Makeup Tutorial


beaaauuutiful eye makeup rashmita. 🙂 AFter a long time i guess! 🙂
Ya long time Rati 🙂 I always wanted to share this on IMBB, so when I came back it was this post and nothing else! Glad u liked it!
*hifive* *hifive* *hifive* Awesome tute………My goodness *jalwa* *jalwa* *jalwa* ur eyes……….. *thankyou*
Thanks Yogita….
Simply gorgeous rashmita 🙂 loved it *haan ji*
Am glad G!
nice tutorial *woot* *jai ho* …you have beautiful eyes *whistle* *haan ji*
*happy dance*
It looks, fresh and bright Rashmita……lovely *clap*
Thank you Jomol…..long time…..
Simply Superbbb *woot* & I Thought That Was Jiyakhan Eyezz… *shy*
Haha….thanks!
You have beautiful eyes Rashmita, I liked the tutorial! And I love the way you ended, keep smiling no matter what *puchhi*
🙂 that’s what matters at the end!
I love it 🙂 Its really easy tutorial to do *powder*
I must say u have very beautiful eyes 🙂
Would love to see this on you…..thanks dear!
Your eyes soooo beautiful, Rashmita 🙂
So nice of you to say that….muah!
this is sooo good!!! *jai ho* *clap* *clap* *puchhi*
*happydance*
*puchhi* nice one… through I m not a fan of makeup bt u insisted me to atleast try d look… m in luv with dis… m definitely gona try it for sure… *thankyou* *haan ji*
Am overjoyed to hear this….definitely try and let us know how you liked it on yourself…
Nice post rashmita…and lovely eyes…and like the final line.. “Keep smiling ” no matter what…I always wud like to try an eye makeup but keep delaying it… This time after this tutorial wud like to… One small doubt will the orange colour eyeshadow will suit all skin tones bcoz I m MAC 43.5… and soft brown is not available in mac … Pls advice me rashmita …
You can definitely try this orange cause am nc42 and we have applied a wee amount. If you want beige on the lid, you can try Inglot, they have whole bunch of shadows, in various finishes.
lovely Rashmita 🙂
Thank you….
Wow! An amazing tip! *clap* *clap*
Will try it soon! *happy dance* *happy dance*
Glad that you found this helpful…..try and enjoy!
thanks for this post Rshmita….super soon gonna get these inglot rainbow eyeshadows.. beautiful eye makeup! *powder* *powder*
Enjoy!
That was such a fab and easy tutorial…i love make up ..but when it comes to eyes m lost .. def gonna give this a try
Thanks for the compliment and definitely try this on yourself……easy peasy…..