Pink Flowery Nail Art Tutorial
Hello girls, today I will be doing another nail art for you. It’s been long since my last nail art tutorial. So I decided with this cute flowery one. I have not used any loud colors and kept it as simple as I could so everyone can atleast try and do this. I hope you find it easy-to-do and pretty.
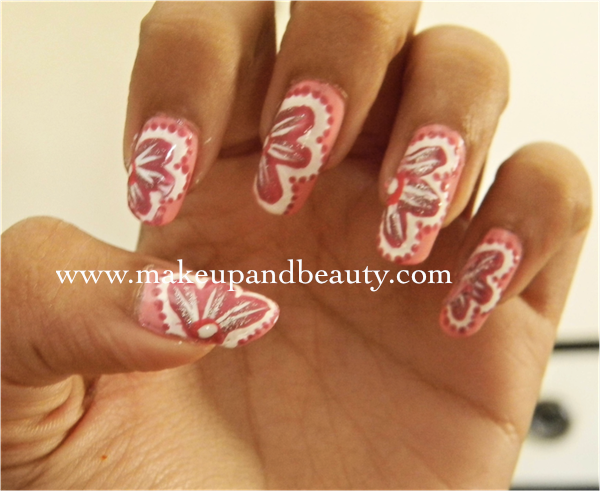
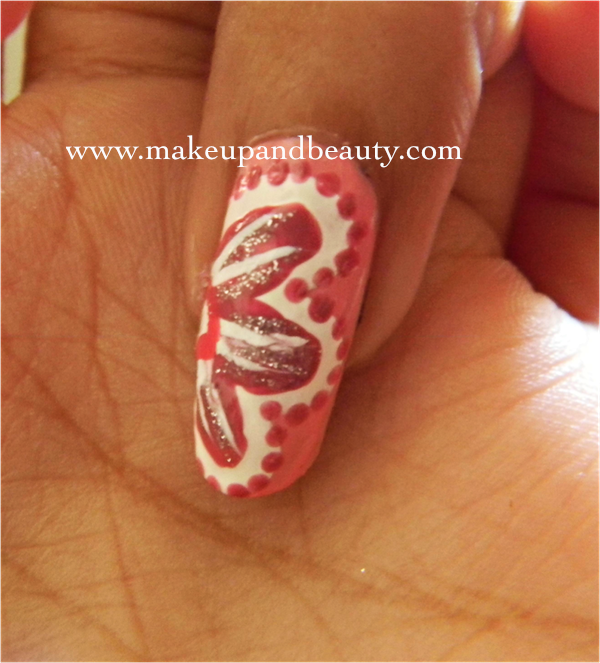
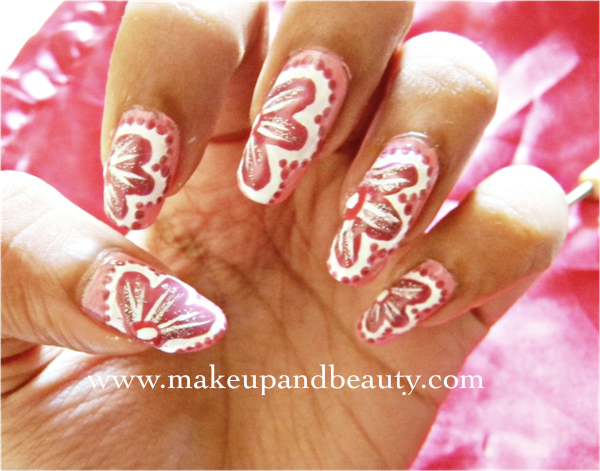
This is what we will work ok-

If you like it then stay tuned on how to do it! :))
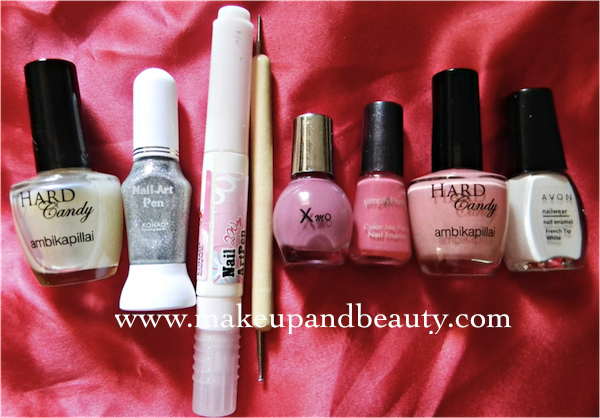
These are the products which I used-

• Base Coat (Ambika Pillai)
• Base color light pink (Ambika Pillai)
• White matte nail paint from French manicure kit of Avon
• Soft pinkish purple nail polish (non-branded)
• Simply pretty Fuchsia pink nail polish (Avon)
• White Nail art polish
• Silver nail art polish
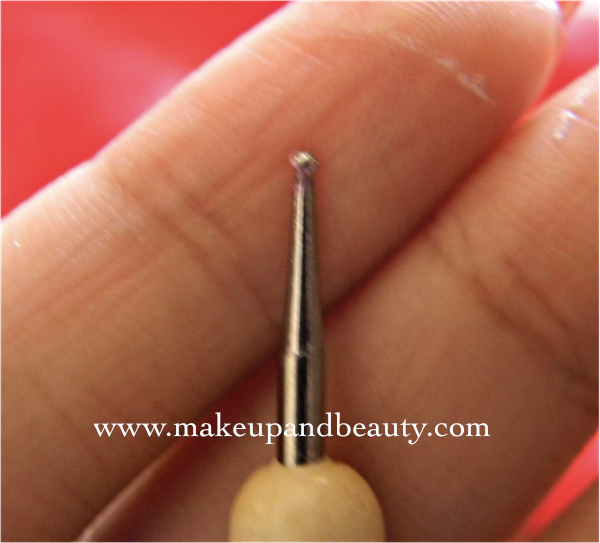
• Dotting tool
Lets begin-
Step 1-
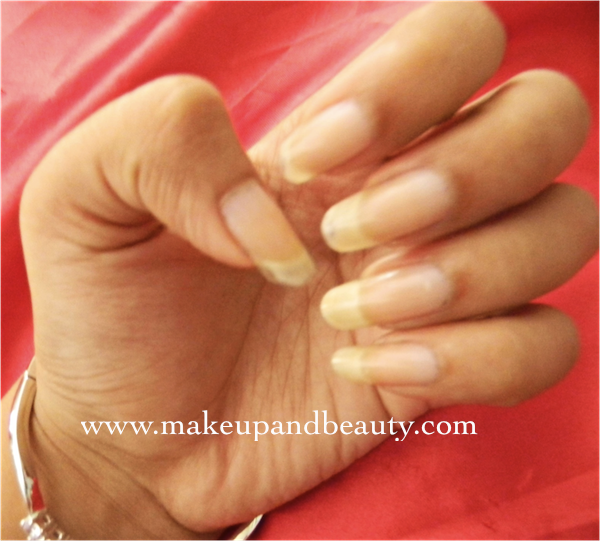
Cut, shape and buffer your nails. I recently have grown my nails a bit longer than usual. And then in household chore I chipped my point finger nail. 🙁
I have to shape them back to equal length. Please manage with this tutorial.
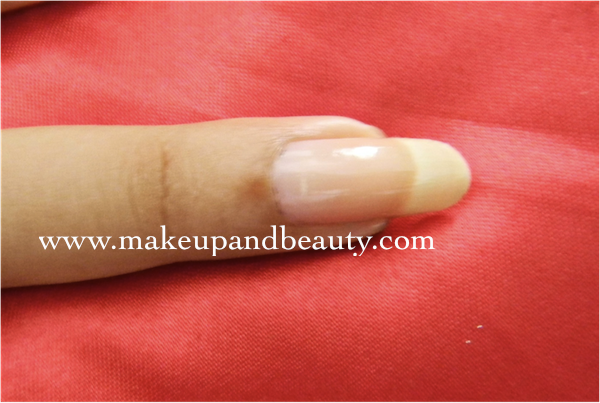
Apply a transparent base coat to protect your strength.
Step 2-
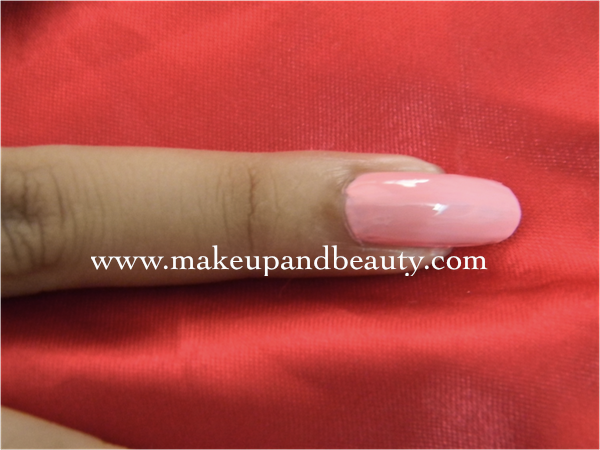
Apply your base color. I am using a light pink as my base color since I want this whole effect to be soft and cute and not loud. (you can try whatever combinations you prefer)
Step 3-
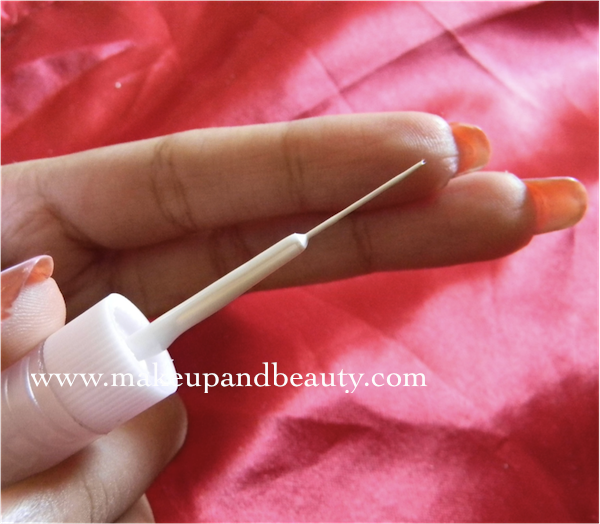
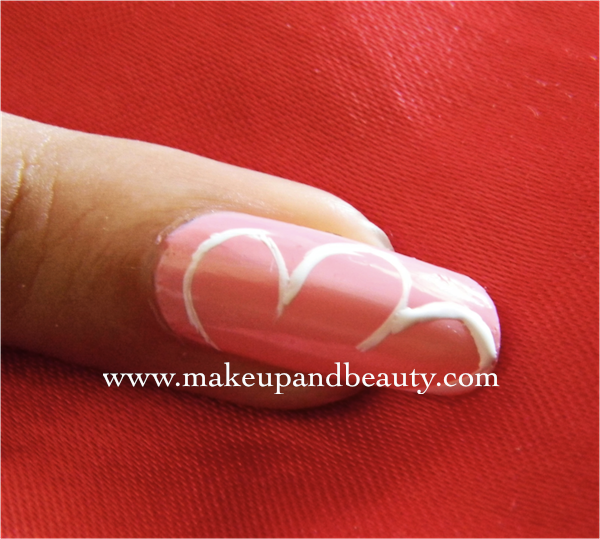
Take a thin brush and white nail paint/white nail art polish. With this we will begin drawing the outline for the flower.
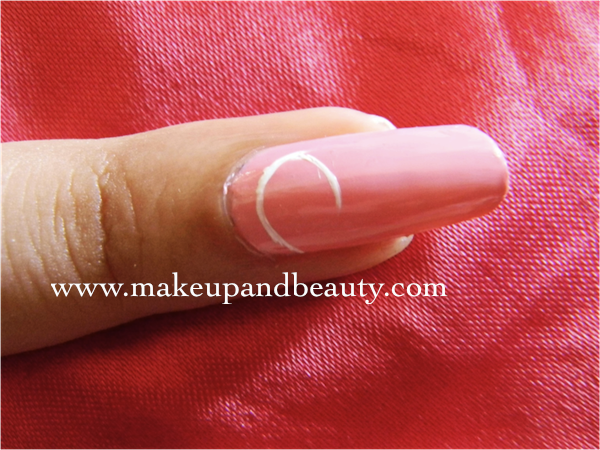
Start from one of the corner and make a ‘C’ shaped petal. This is the first petal.
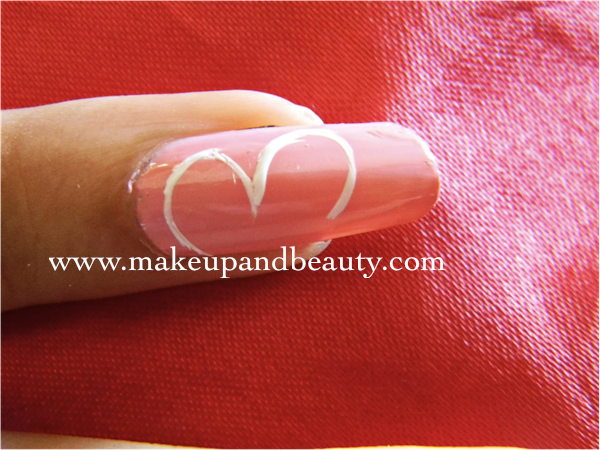
Now continue and make another C shape petal and then the final third C for last petal. In all you make 3 petals.
Something like this.
Step 4-
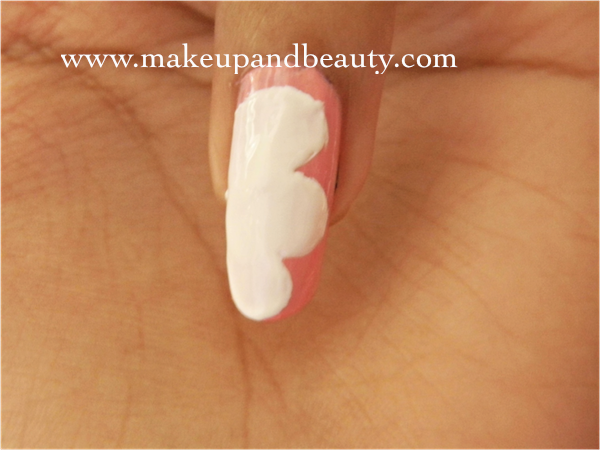
Color the flower pattern with white nail paint.
Step 5-
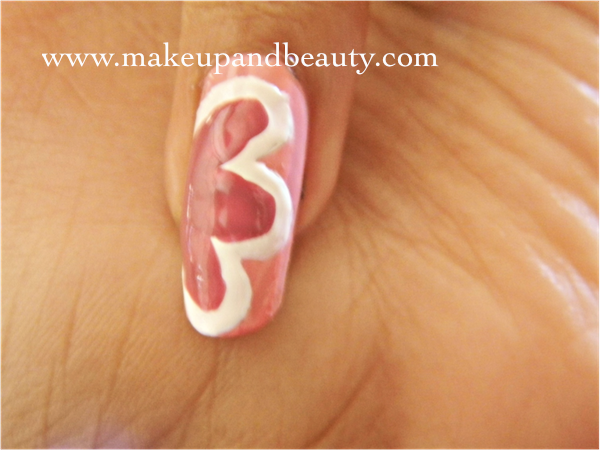
Now we shall go into the details. Grab a pinkish purple shade and make concentric flower pattern leaving a little gap fro the white background to show forming a border.
Step 5-
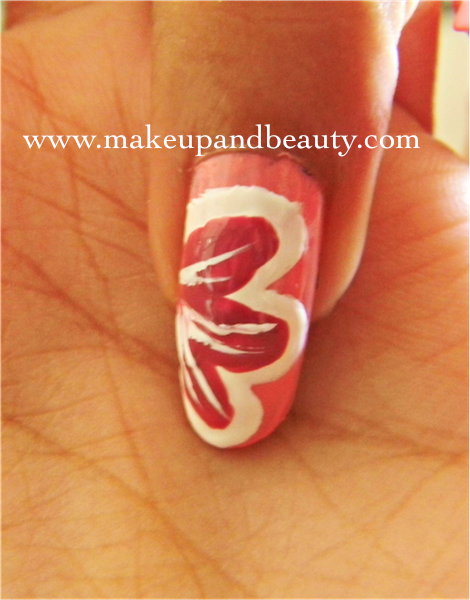
Now take the white nail art polish and draw thin line starting from one end to 3/4th of the petal. Two lines for each petal.
Step 6-
In between white lines add silver glitter lines to pop up the whole look. This step is optional. But I like glitters in my nail art :).
Step 7-
Now take a bright fuchsia pink nail paint and apply a big dot at the base of the petal.
Step 8-
Add another smaller dot with white nail paint on the fuchsia nail paint.
Step 9-
Now take a dotting tool/toothpick and the same pinkish purple nail paint and apply small dots around the border of the petal.
Step 10-
Apply top coat/quick dry drops. Allow it to dry very nicely or you might smudge them.
Tip- Allow the nail paint to dry completely on every step.
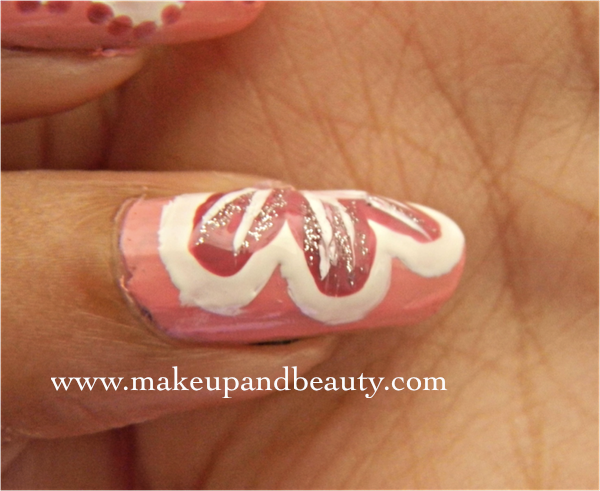
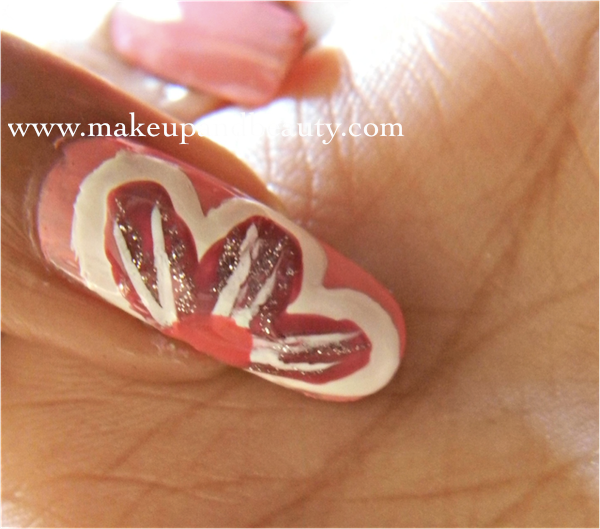
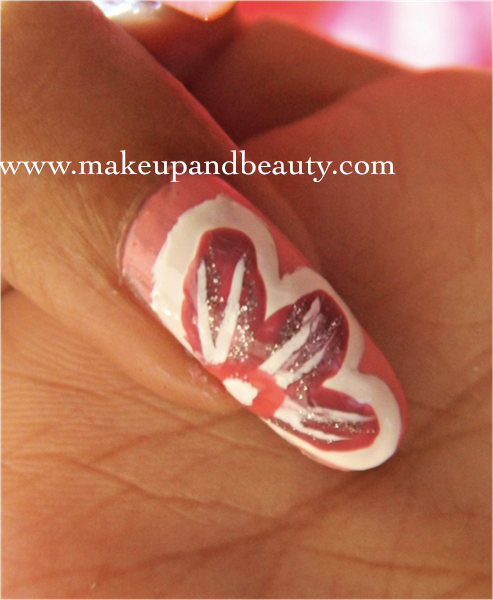
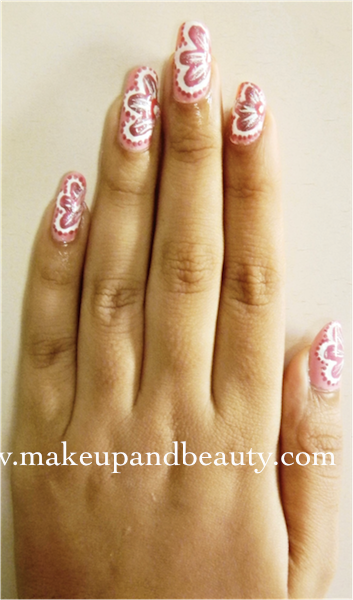
Here is the final Nail Art look. 🙂
I am sorry, since I don’t have anyone to click pictures for me, I mistakenly smudged the nail art on my little finger while taking the pictures :(. Please bear with the final pictures.
Hope you like it.
Love,
Jinal
Also read :
Simple Purple Nail Art Tutorial
How To Do Nail Art at Home
Sponge Technique Nail Art Tutorial
Nail Art Video Tutorial for Short Nails
Two Nail Art Designs for Party – Tutorial
Leopard Print French Manicure Nail Art Tutorial
Cute Smiley Nail Art Tutorial
Cute Fruity Nail Art Tutorial
Peacock Feather Inspired Nail Art Tutorial





i dint even see the smudge.. 🙂 it’s a very pretty nail art!!
thank you Ramya :)) :thanks: :thanks:
That is really beautiful, Jinal. I wouldn’t have had the patience to sit through it all 😀
hehe….well patience comes if you have passion for it…I love doing it and so I dont mind sitting hours too :))
Its very pretty..
thank you Rashmi :))
Jinal, you have real patience to do this art….I am toooo lazy, its been a week am trying to paint a base coat on my nails….I am a lazy bummmmm :hunterwali:
lol…. :yahoo: :yahoo: :yahoo: :yahoo: :yahoo: :yahoo: :yahoo:
Lovelyyyyyyyyy!!!!!!!! :inlove: :inlove: :inlove: :inlove: :-* :-* :-*
:thanks: :thanks: :thanks: :thanks: :thanks: :thanks: :thanks: :puchhi: :puchhi: :puchhi:
Wow, that’s super-awesome! :waytogo: :waytogo: :waytogo:
Loved it totally! You made the procedure seem simple enough!
Will def try it out.. thanks for the tut Jinal! 😀
BTW, I’ve been a silent reader of IMBB, first time posting a comment here! 🙂
hey thank you Poornapriya,….you should comment often!! :))
do try the tut if you like 🙂 :thanks: :thanks: :thanks: :thanks: :thanks:
so Pweety Jinal 🙂
:thanks: :thanks: :thanks: :thanks: 🙂
super pretty :happydance: … m so jealous :smug: .. i haven’t done any nail art since months my nails are chipping chipping and chipping.. ur nails look fab !! touchwood !!
awww…..you also do very pretty nail arts Deeps…. :puchhi: :puchhi: :puchhi: :puchhi:
jinal,where do get this dotting tool???..tried it at a few local shops….nahi mila……also u put the nail paint in it kya???
Shivani I got the tool from an online website. And no I just take the paint on a rough paper and dip the tool to make dots :))
This is so beautiful Jinal. You’re awesome at nail art!
:thanks: :thanks: :thanks: :thanks: so much Ankita :))
Jinallll..its amazing :happydance: :happydance: :happydance: :happydance: :happydance: :happydance:
ANd seriously I didnt see any smudge any where :))
thank you :yahoo: :yahoo: :yahoo: :yahoo: :happydance: :happydance: :happydance: :happydance: :happydance:
you have made it look so easy Jinal. :jaiho: :jaiho: :jaiho: :jaiho: Loveed the design and i feel you do need long nails to do this nail art. 😀
thank you Rati!! :thanks: :thanks: :thanks: :thanks:
yeah long nails for this one is must….otherwise it wont do justice to the design :toothygrin: :toothygrin:
awesommmmmmmmmmmmmmm nail arttt jinal………… :yahoo: :yahoo: :yahoo: :yahoo: :yahoo: :yahoo: :yahoo: :yahoo: :yahoo: :yahoo: :yahoo: :yahoo: :yahoo: :yahoo:
thank you Noopuurrrrrrrr :yahoo: :yahoo: :yahoo: :yahoo: :yahoo: :yahoo:
Awesome Jinal :jaiho: :jaiho: :jaiho: :jaiho: :jaiho: :jaiho: :jaiho: :jaiho: :jaiho:
:thanks: :thanks: :thanks: :thanks: :thanks:
You hav beautiiifooooool nails Jinal :inlove: :inlove: :inlove:
and the nail art is sooo cute n pretty…. :bravo: :bravo: :bravo: :drool: :giggle:
:thanks: :thanks: :thanks: :thanks: :thanks: Shruti :))
u are n expert jins! :-*
:thanks: :thanks: :thanks: :thanks: :thanks: Neha 😀 :puchhi:
Such a cuute nail art :inlove: :inlove: :inlove: :inlove: :inlove: :inlove: :inlove: ..and your control over the nail arts is soooo gooooooood!!! :jaiho: :jaiho: :jaiho: :jaiho: :jaiho: :jaiho: :jaiho: :jaiho: :jaiho: :jaiho: :jaiho: :jaiho: :jaiho: :jaiho: :jaiho: :jaiho: :jaiho: :jaiho:
:thanks: Cali :puchhi: :puchhi: :puchhi: :puchhi:
Elaborate!!!
:thanks: :thanks: :puchhi:
loved it !!!
thank you Rids :))
Jinal: U haven’t voted for me in Entry 41
Ohh I have not voted for anyone yet….I just came back home today.
I will vote for everyone today :yahoo:
I Love this, deffinatly going to try this tomorrow 🙂 gorgeous colors too.