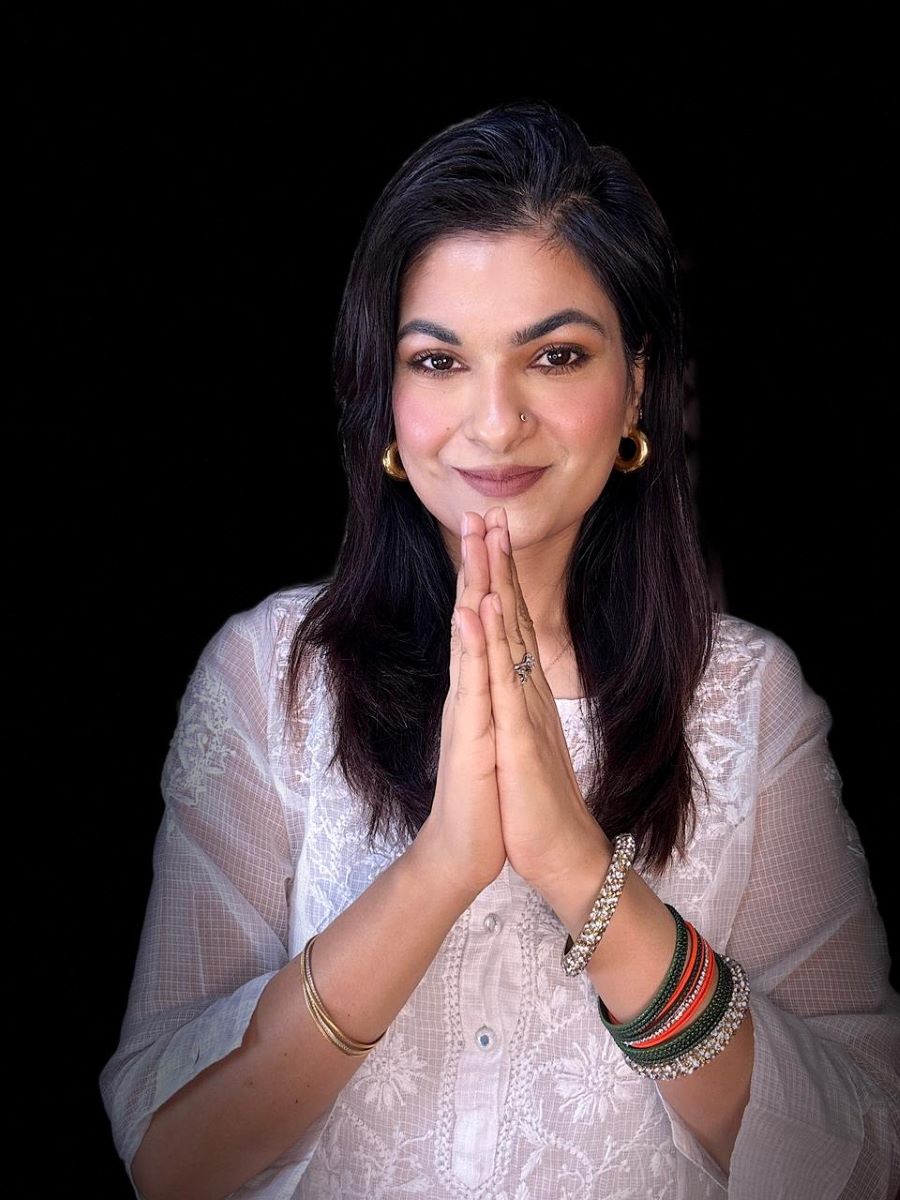
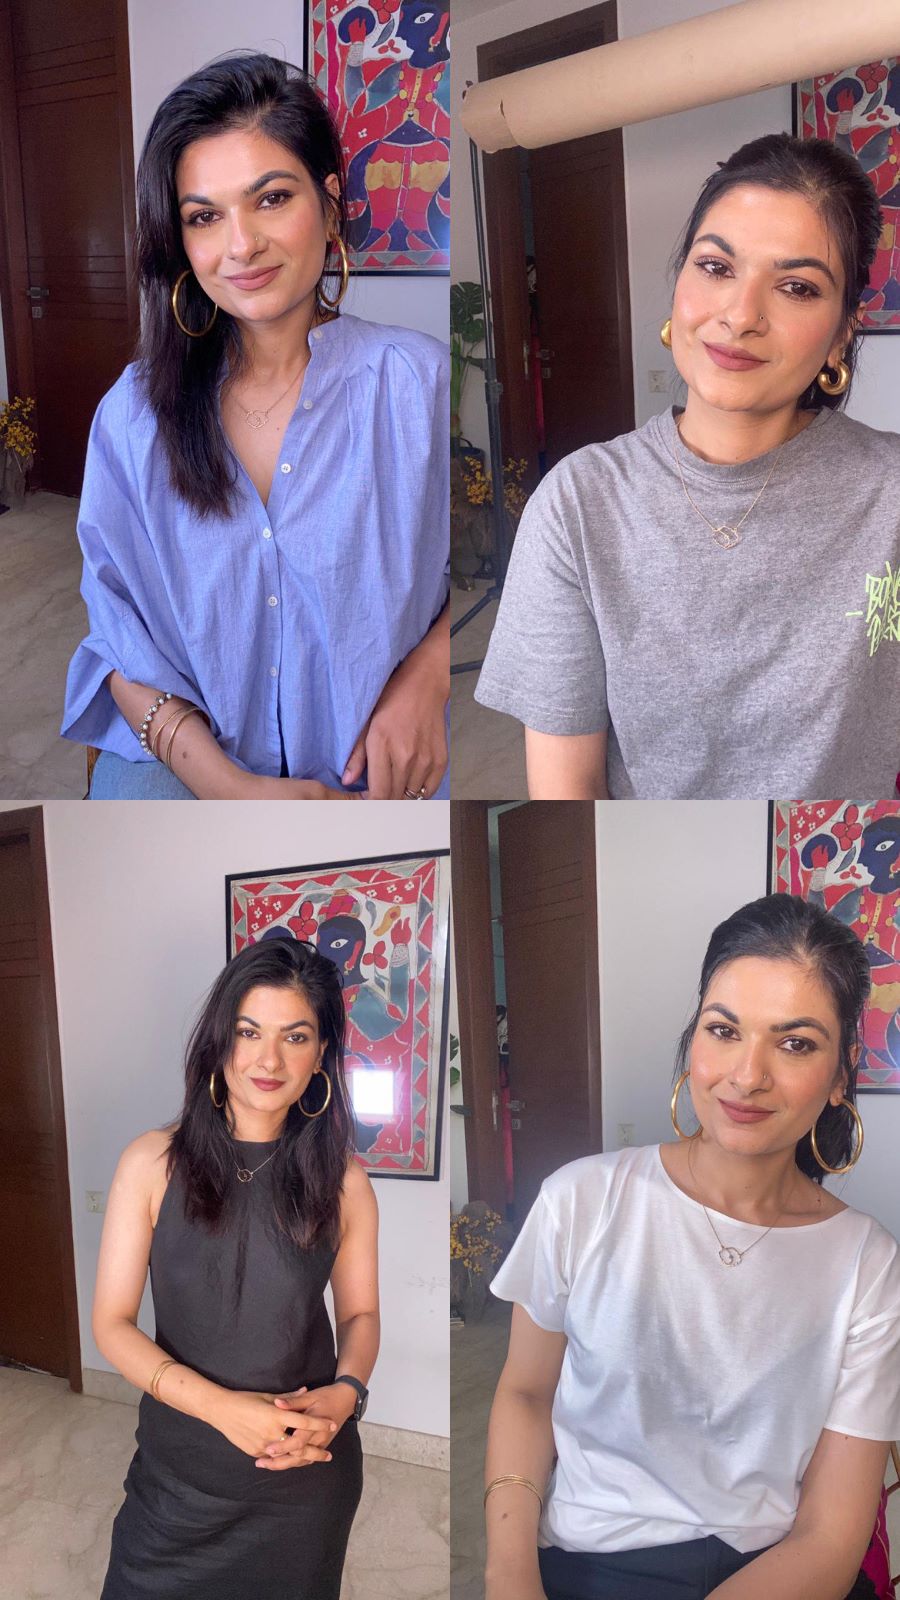
How To Apply Makeup For Pictures
Hey all ladies, how are you doing? Before starting my article; again I wanted to share a little story behind this one.

Festivals always bring ‘Family Reunion’ for most of Indian Families and one of these is Rakhi. I had been to my moms’ place and so did my sisters and amidst of all happenings, I noticed my younger one to be so conscious about her pictures. She was so concerned that after each single click, she was running for the camera to look “How she was looking?” No doubt, we enjoyed that a lot, but also reminded me that some time back, I was the same, but yeah not aware like her, so never had something to title “my best photograph.”

(Cheryl Cole has been voted the most photogenic and picture-perfect face).
With continuous effort, she had managed to get some very decent pictures whereas I looked a sad plain Jane in front of her. This forced me to dig out all sources of knowledge to find out mantras’ of getting a picture perfect self. I have no knowledge of photography neither do I think I will be able to master it in this life, but makeup enthralls me a lot and is something I am comfortable struggling with; so I tried to find out how makeup can cheat the lens and thought of sharing it with you all as well.
So, ladies here comes what I found in all these days and these are only a few and anyone who has any more or professional knowledge on this subject is welcome to add in the lot to help making our very own “IMBB Help Guide on How To Apply Makeup For Pictures”
Hope you find it interesting. Here are the tips:
1. Moisturize First:
Ever noticed how beautiful a child looks in pictures? That’s all the difference made by soft smooth skin. As a grown-up, it is hard to have a child-like skin, but it can be faked with proper moisturizing. The worst thing one can do is putting makeup without any moisturizer because the best of things turn out to be chalky and flaky in pictures if your skin is not supple. So, as a very basic step, put up a good moisturizer and let it sink in for a few moments before applying any makeup.
2. Prime, Prime, Prime:
In most of the cases, when we are to get pictured, there is a long gap between applying makeup and getting clicked. A primer with silicone creates a barrier between your skin and your makeup to help prevent oil and humidity from seeping in and making you look fresh for longer duration minus any smudginess. A pea size is enough to cover your entire face. Start from your problem area that is the part which gets oily sooner and spread the remainder on the rest of your skin.
3. Some Points About Foundation:
Applying foundation will even out blotchy skin, minimize shadows and reduces redness in a way that you will appreciate once you get your pictures. For this, you need not pile on the makeup, just do it the right way. Dot your foundation on forehead, nose, cheeks and chin and blend outwards with a foundation brush. A sponge is a personal choice, but in most cases a third of your foundation is left on your sponge only. It will help create a uniform skin color so that when you get clicked light reflects evenly. It is always good to use a shade darker than what you normally wear as it will add warmth to the skin without applying a lot of makeup or else you should match your foundation to your neck, otherwise a flash can exaggerate the difference.

(Kate Middleton with concealed freckles).
4. Conceal:
Next is to conceal what you don’t want to show up in pictures; dark circles or pimple marks, zits, blemishes or scars or anything that’s not appealing to eyes and is not covered by foundation. Choose just a shade cooler than your foundation since a much lighter shade will look ashy in pictures. Place some concealer close to the inner and outer corners of your eyes where the skin is darker to perk them up and if you are already blessed with a clean and clear skin, then a good trick to avoid an made-up effect is to finish your eye makeup first, then look in the mirror for any imperfections. You will find that some smaller ones aren’t as obvious and noticeable as earlier and you won’t need much of foundation or concealer application for that flawless look and add a little where it is required.
5. Get Focus on Your Eyes:

(Aishwarya Rai with played-up eyes).
The best pictures are the ones which communicate with their onlookers and the best communication is through eyes. You will instantly fall in love with the one where eyes are in focus. Bringing your eyes into photo-ready focus calls for well-groomed brows and defined makeup. Try to keep your eyes soft. Overall, your eye shadow should be kept simple. A light color like rosy gold or soft brown will give your face a fresh and open effect and if you are looking for more dimension, then add a darker shade on the crease. Using major dark colors will make your eyes appear smaller. Dusting an eyeshadow lighter than your skintone will even out any discoloration and bring eyes forward, so that they don’t appear sunken in.
Concentrate on defining your lash line, which brings attention to your eyes in a sophisticated way. Line your top lash line with black liner and then trace it with navy blue shadow to break the hardness of black and this way your liner will also behave like a long-lasting one. You can use other colors that don’t have a lot of brightness to them like deep blue, eggplant, green or khaki ones. Avoid using all rimmed look for pictures as it can look all made up and ghastly. Instead you can always use a nude colored pencil for your waterline to make your eyes pop up. A mascara is a must. Try using lengthening mascara or voluminizing or lash building mascara. If you get overboard with it, it can make you look wild in your pictures. Most people think that you need to wear heavy makeup for it to show up in photographs, instead, it should be more defined.
6. Add Color to Face:

(Gisele Bundchen with pinked-up cheeks).
Wearing color on your face and cheeks is important for good pictures. Flash photography can diminish skin color because of the intensity of white light. If you don’t have enough warmth in your skintone, it can look washed out in photos. Blush will make your skin have a healthy glow in photographs. Use a blush or bronzer that’s close to your natural skin color to create definition. First, dust a powder bronzer with little to no shimmer along your temples, hairline, jaw line and sweep it lightly under your cheekbones and on each side of nose. Follow with a rosy gold blush on cheekbones rather than the apples because it can direct attention away from your eyes. Brighter pink or peach can be used to give face a slight flush. Always choose sheer formulations so you don’t saturate your cheeks with too much of color and never forget to blend in any lines between the two blushes.
7. Highlighting the Best:
The camera picks up more details than human eyes and if you think a highlighter all over your face is going to help you appear as an angel, then you are mistaken here. A lot of highlighting will make you appear as a grease pot in photographs. Use it on temples starting from the outer edge of your brow that goes under the outer corner of your eyes making a ‘C’ shape. Avoid using shimmer highlighter along your brow bones as it can turn terrible in pictures with changing lights. Use a concealer to brighten that area naturally. Even choosing a color is also important, rather than choosing icy or white highlighter, go for a blend of pink and yellow.
8. Paint that Pout Perfect:

(Angelina Jolie adds life to her pictures with her pout).
Gloss versus matte or pale versus dark, all the available choices might seem like a puzzling proposition. It’s a misconception among many that if you are going to be photographed, then you need a full-on lipstick. If you usually wear a dark shade, then stick to it, otherwise prefer a mauve or rosy shade as such shades never wash you out and come out very natural and soft. Too pale a shade will make all the effort dull and a glossy finish looks more glamorous and eye-catching delivering sexy fullness than a matte texture plus works well when you plan to be in dimly-lit room.
As earlier told, photography is not something that I am a pro at, but still looked out for some basic lighting details as it makes a hell lot of difference in clicked appearances.
During Day:
If you are planning to take pictures in day light, then it is always right to even-out your skintone as flaws on skin are more apparent in natural light. Put your makeup on in front of a window so that it is not way too much light or heavy handed.
Flash:
Flash camouflages the imperfections by making them bright, so any blemishes or dark circles wouldn’t be noticeable, but it adds a shine and reflection to the object as well in direct flash photography. Carry a pressed powder compact or blotting papers to absorb any oil without smudging makeup and use them to minimize any shine on your face and be sure that there is not much of shimmer on your face as it tends to reflect back in pictures showing any fine lines plus making your face look as a grease pot and last.
Black and White:

(Angelina Jolie again in a black and white picture).
Last but not the least is my personal favorite and that is black and white. It can be most flattering when done right. In black and white photography, contrast is so intense that it is very hard to notice any flaws. Just keep in mind that soft colors will appear muted on screen while dark ones will appear almost black, so be sure to differentiate between your skin, lips, and eyes. Bright can appear much darker in black and white ones. Try to choose a richer color of lipstick rather than a shade that is too neutral or dull.
I have been trying on these tricks off late to find the difference they make, but found my pics are not suitable to be shared on a beauty blog, but soon after perfecting a few looks, will try to post for you.
Do let me know what you all think about this.
Image Sources:1, 2, 3, 4, 5, 6.
How to Look Good in Pictures
How To Get Youthful Hands
How To Choose The Right Perfume
How to Apply Pencil Eyeliner – tutorial
How to Fix Common Makeup Mistakes
How To Curl Hair Without Heat – Rags
How to Become Fair Naturally
How To Minimize A Large Forehead
How to Apply Egyptian Eye Makeup
How to Apply Stage Makeup
How to Apply Leg Makeup
Eye Makeup: How to Apply Eye Makeup
How to Apply Emo Eyeshadow
How to Apply Eyeshadow
How to Apply Pigments
How To Apply Perfume
How To Apply Cream Blush
How to Apply Eyeliner
How to Apply Lipstick
How to Apply Fake Eyelashes
How to Take Photos for Your Makeup and Beauty Blog
Smoky I by Mikyajy cosmetics- Pictures and Swatches


Awesome post!! God all these ladies! I’m soo on the verge of having a lady crush on Cheryl Cole! :tongue: 😀
Thanks a lot dear…….
Very nicely written!
And very helpful too. I appear like a pale ghost or a frying pan in most of my pics. :waaa:
Me too………… I almost hate to look back at my pictures. But some appear quite nice too. Didn’t really know how?????? May be unintentionally i followed some steps. :stars:
Thanks for this post…this will really help as my best friend is getting married this november…hers is a destination wedding at Jaipur 😉 and I really appreciate the way everybody here puts so much research and hardwork behind every article…I have been a silent and regular visitor of IMBB since April…this time I could not resist commenting :toothygrin:
Chhavi 🙂 Now that we have charmed you inside the comment box, stay put and make yourself at home 🙂
Thanks so much 🙂
Thanks a lot ChHavi. Have a blast in your friends’ marriage. :waytogo:
Me too is making myself comfortable here. Thanks Sanjeev
Welcome J 🙂 and a very good and well-researched article 🙂
:thanks:I am feeling like an enlightened soul here. Thanks for making this place so friendly. I visit other blogs too. But here it feels apna-apna sa.
*passes the hukkah to J Kaur*
very useful article dear….will keep ur tips in mind while being clicked next time, am such a photo freak :yahoo: :yahoo:
Upload your photos after following these tips. I would love to see………….
:-*
I’m always the awkward person in pictures LOL
Thank for the tips! Great article! :cheers:
Thanks a lot Ruleia. Even till this rakhi I was also least concerned about finding some mantras and was just letting things go like anything.
Will myself try to follow a lot.
Thanks again………….
Soory……… I spelt your name wrong. :yikes:
amazing tips j kaur…. :thumbsup: :thumbsup: :thumbsup: ….can’t really thank you enough…. :thanks:
This is so heartening to be here. Thanks Dimpi. You know what…….. My first sisters’ name is also Dimpi. Whenever I see any comment from you, I feel like calling her. :thanks: for the comment.
Wonderful article. 🙂 Fell in love with Aishwarya’s eyes. :love:
:thanks: Akshatha.
really nice tips 🙂 will defntly keep them in mind 🙂
thanks for sharing :thanks: :thanks:
Welcome Nupur. And you toooo otherwise bhi having nice-nice piccies always. I remember one of your piccy where you so resembled Kareena Kapoor and I just kept staring.
very refreshing and excellent article. It’s like i just sat back on a chair and read and read and I didn’t want it to finish. I dont know what to say more. 🙂
Thanks a lot Rati and thanks to all IMBBians for their encouraging comments.
But your comment specially meant a lot to me. Thanks a lot. You are like an inspiration to me. Thanks a lot angel !!!!!!!!!!!!!!!!!!!!!!!!!!!!!!!!!!
And I Also got a very useful tip about pictures we use for articles. Thanks!!!!!!!!!
Good Morning all…………………..
aww! that’s so sweet of you. thanks. 🙂 good morning. 🙂
Nicely put together.loved reading the article. :waytogo:
:thanks: :thanks: :thanks: :thanks: :thanks: Jyo
its a great article.and yes my fva are black and white pictures too.ive been tryng to get one right one and it hanst come out right yet.also j kaur my dear dont EVER EVER ever say you are nit gud enough .you are gud to be put here and everywhere just right;) i belive very firmy every woman is pretty.
a quote by audrey hepburn for you:
”I believe in pink. I believe that laughing is the best calorie burner. I believe in kissing, kissing a lot. I believe in being strong when everything seems to be going wrong. I believe that happy girls are the prettiest girls. I believe that tomorrow is another day and I believe in miracles. :toothygrin: :toothygrin: :toothygrin:
:thanks: :thanks: :thanks: :thanks:
Thanks a lot dear. I will try to keep this quote in mind so that nomore grey clouds are there in my mind about myself. I feel being here is a process of finding beautiful yourself.
:-* for boost up.
My pics always come out bad. :thanks: :thanks: for this article
Hope you get most beautiful pictures now onwards. :woot:
Awesome Article J kaur!!! Loved it to the T…. Im so bookmarking it!!!
and Rauni- chak de!!!!
Thanks a lot Bee.
With so much appreciation I am feeling tears in my eyes and I know this will inspire me for good. :thanks:
awwww how sweet. this group does tat JK..they are extremely encouraging, very motivating and inspiring.
beeeeee :yes: haina;)
Thanks flygirl. You know for what…………
:-* for you for making it more interesting.
lovely article really. this article also goes into the file. just btw, I have started making a scrap book/file of sorts and all these articles automatically go into that file. I used to hang on to the entire magazine earlier. Now I just tear the page and put it into that file. 🙂
Same to same Aruna.
I have also same habits. :high5:
And thanks a lot for liking my efforts. :pompom:
my pleasure JK. 🙂
Geat article.. Really i needed one.. U definitely deserve appreciation.. :yes: :yes: :clap:
:thanks: dear.
Fantastic article and such great tips! :yes: I would love to get a perfect black and white pic..have been trying but never get a good one
Great tips J Kaur. :thumbsup: :)) I especially like the tip about foundation. It’s a pet peeve of mine when people have foundation on and the color of their face is so different from the color of their neck and chest. I notice it immediately. :sidefrown:
Awesome article! :thumbsup:
Thank u is a really small word for all d efforts u’ve put in to write dis article so as to help IMBBians! :jaiho:
this is a great article, thanx a lot! i have oily skin and am presently using bourjois healthy mix foundation..can anybody plz suggest ma a good, affordable primer? :thanks:
Very nice article. Precise and covers almost everything. I shall learn a lot from these tips. THank u 🙂
Such an informative article :waytogo:
:thanks: J
This is the best post on makeup application, to the point and very informative, Very well composed !! :waytogo:
Such an awesome post J Kaur! Bang-on tips, I could learn so much from this article 🙂